
ATEM Software Control is the command center for your ATEM switcher. Whether you’re using an ATEM Mini or ATEM Mini Pro, ATEM Software Control on a networked PC gives you access to every feature: switching, audio mixing, keying, macros, color correction, and more. For most churches, ATEM Software Control becomes the primary interface for production, with the physical device serving as a fallback.
This guide walks through installation, network connection, and mastering the key features you’ll use every Sunday.
Installing ATEM Software Control
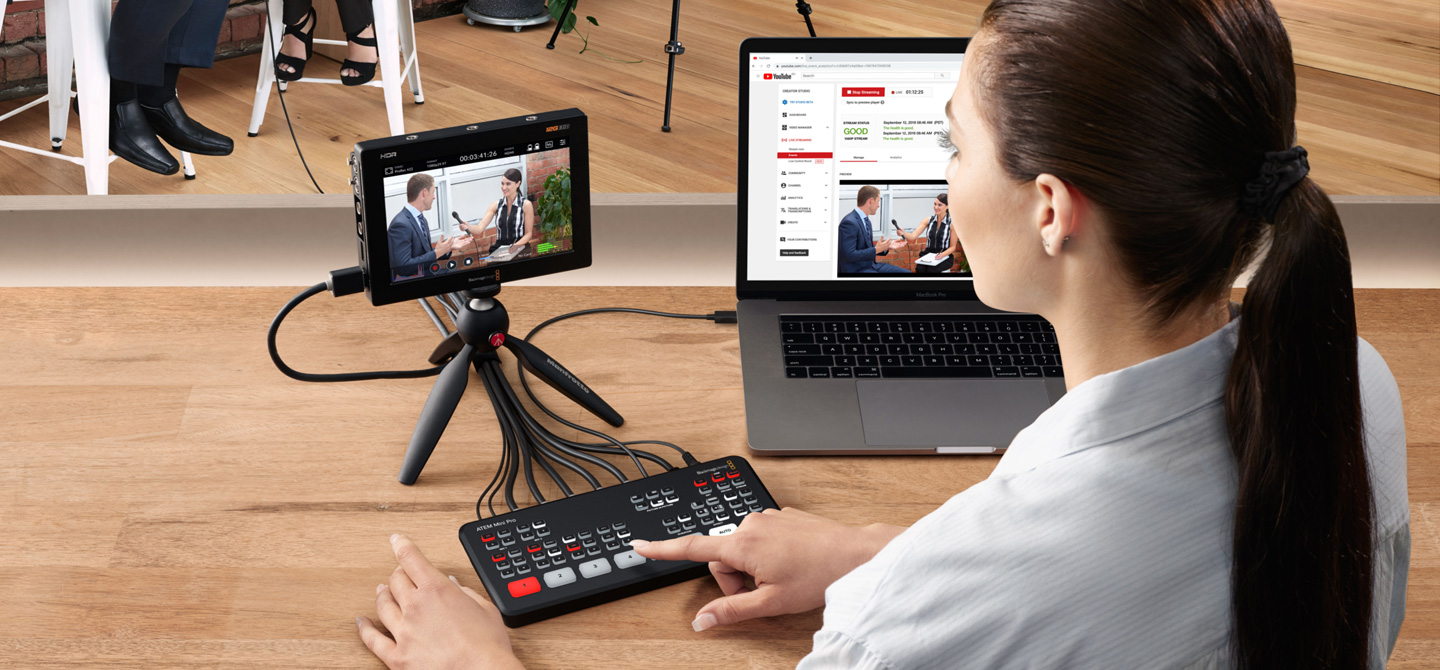
Download ATEM Software Control from Blackmagic Design’s website. The application is free, and installation is straightforward on both Mac and Windows. Launch the installer, follow the prompts, and you’re done.
On Windows, ATEM Software Control adds a start menu shortcut. On Mac, it installs into your Applications folder. Launch the application, and on first run, it will scan your network for connected ATEM devices.
The first time you run ATEM Software Control, it may ask to install drivers or configure network settings. Let it do so—these are one-time steps that enable the software to communicate with your ATEM devices.
Discovering Your ATEM Device
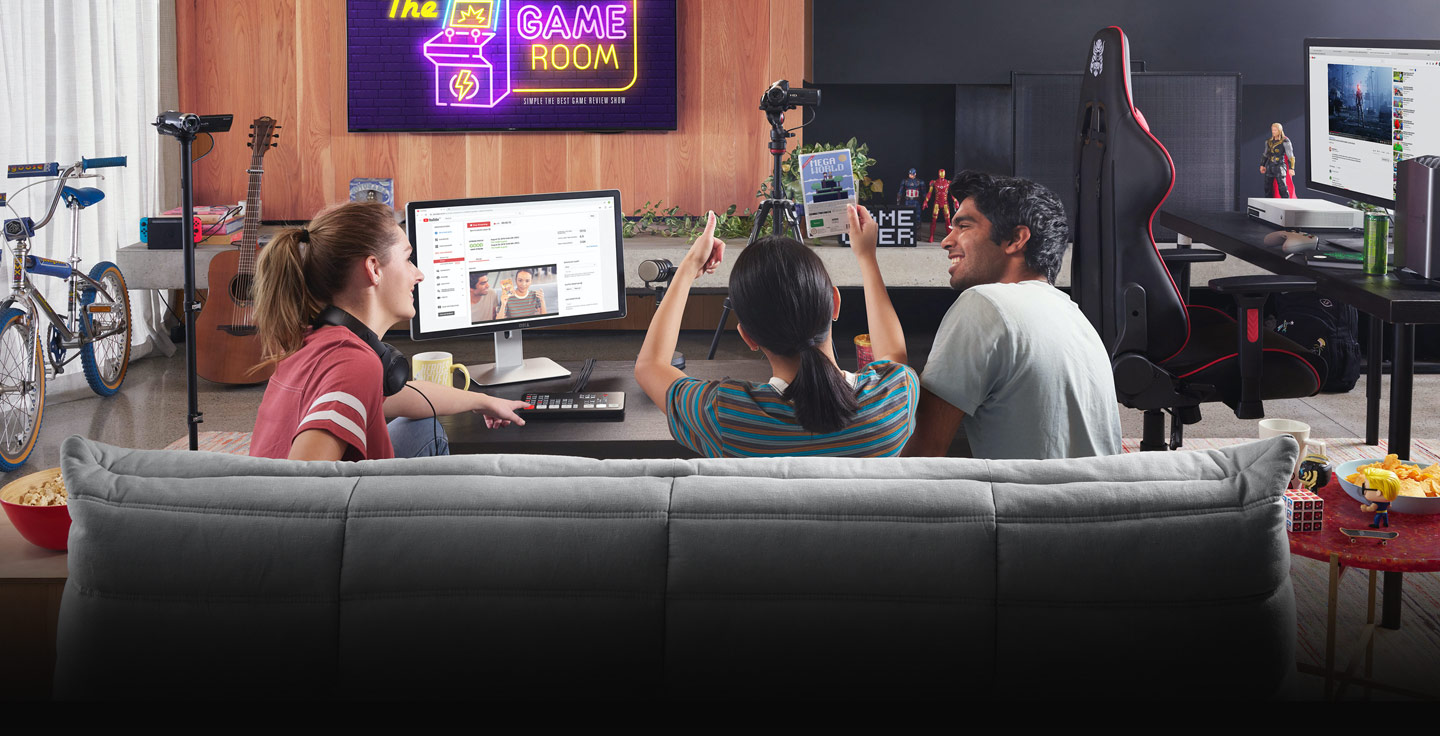
When ATEM Software Control launches, it automatically scans your network for ATEM devices. If you have an ATEM connected via Ethernet, it should appear in a list. Click on your device, and the software will connect.
For the ATEM Mini (which connects via USB), plug the USB cable into your streaming PC and launch ATEM Software Control. It will automatically detect the ATEM Mini and connect via USB instead of Ethernet.
Once connected, the software displays a virtual representation of your ATEM’s control panel. Everything you see in ATEM Software Control mirrors the physical buttons and knobs on the device, plus additional features not available on the physical panel.
Navigation and Main Interface
The left side of ATEM Software Control shows your program and preview buses—the same as the physical device. In the center is the main control area where most of your work happens. The right side shows additional panels: Audio Mixer, Keyers, Media Players, and more.
Start by familiarizing yourself with the layout. Click on different cameras and watch them appear in the preview bus. Move the T-bar to cut between cameras. These basic operations are identical whether you’re using the physical buttons on the ATEM or the software interface.
The main advantage of the software is that everything is larger and more detailed. You can see audio levels in real time, adjust colors on individual inputs, and access features that the physical device doesn’t expose.
The Audio Mixer Tab
The Audio Mixer is where you manage audio levels during your service. Click on the Audio Mixer tab to open it. You’ll see faders for each input: your camera audio (if your cameras have audio), your RCA line input from your mixer, and your microphone input.
During your service, keep an eye on the audio meters. The input levels should hover in the green zone, with peaks during singing or loud moments hitting yellow but not sustained red. If levels are too hot, click the input’s fader and drag it down. If they’re too quiet, drag it up.
Many churches leave the Audio Mixer visible during their broadcast so they can see levels in real time. This is especially useful if you have two people managing the ATEM Mini Pro—one switching cameras and one monitoring audio.
You can also control your main mixer from ATEM Software Control if you’ve integrated it. Some churches use a MIDI controller or networked mixer that connects to ATEM Software Control, allowing the switcher operator to adjust mixer levels without leaving the ATEM Software Control interface. This is advanced but convenient for small teams.
Recording Settings
The Recording section in ATEM Software Control controls whether you’re recording to USB, what format you’re recording in, and when to start and stop. Before a service, verify that you’ve selected the correct recording destination (your USB drive if you’re using one) and that the format matches your needs.
Common formats: ProRes for high-quality archival, H.264 for lower file sizes, and DV for older systems. For most churches, ProRes or H.264 are the right choices.
Start recording before the service begins. Stop recording when the service ends. The ATEM Mini Pro will finalize the file, and you’ll have a local copy on your USB drive.
Streaming Configuration
The Streaming section controls direct streaming to YouTube or Facebook (ATEM Mini Pro only). Enter your stream keys here, configure your bitrate and resolution, and monitor streaming status.
You can start and stop the stream from ATEM Software Control, or use the physical buttons on the ATEM Mini Pro. Most churches prefer clicking a button on ATEM Software Control while watching the status indicator to confirm the stream is live.
Test your streaming configuration by starting a stream about 30 seconds before you would on Sunday. Wait 10–15 seconds for the stream to appear on YouTube, then verify the video and audio quality. If everything looks good, stop the test stream and you’re ready for Sunday.
Color Correction
Click on the Color Correction tab to access per-input color correction. You can adjust contrast, saturation, hue, and other parameters for each camera independently. This is useful if you have cameras that look different—maybe one is warmer-toned and one is cooler—and you want them to match on screen.
Color correction is advanced, and most churches don’t need it. The default camera settings usually look fine. But if you notice one camera looks significantly different from another, color correction can bring them into harmony without requiring adjustments on the cameras themselves.
Keyers and Graphics
The Keyers section controls whether your upstream keyer is active, what source you’re keying (ProPresenter graphics, for example), and how the key is positioned on screen. If you’re doing any keying of graphics, you’ll configure and test it here before your service.
Many churches run a keyer test during the week, ensuring that ProPresenter is properly keyed and positioned, then disable the keyer during the service until they actually need it. This prevents accidents where graphics appear unexpectedly.
Macros
The Macros section is where you record and manage automation sequences. Start a macro by clicking Record on any of the ten macro slots, then perform your switching moves. The ATEM Software Control will record every action you take.
Once you’ve recorded a few service macros (Opening, Song, Sermon, Prayer, Closing), you can trigger them with a single click. For experienced operators, running a service becomes: click Opening macro, switch cameras manually for a moment, click Song macro, switch manually, click Sermon macro, and so on. This keeps you focused on the big picture rather than individual technical steps.
Test all your macros during the week, and don’t introduce new ones on Sunday morning. Use proven macros that you’ve tested and refined.
Control Panel Settings
The Settings or Control Panel section (exact name varies by ATEM Software Control version) contains device-wide configuration: resolution, frame rate, audio delay compensation, network settings, and more.
Before your first Sunday, review these settings and ensure they match your service needs. Common settings: 1080p30 resolution, audio delay set to zero (adjust later if you notice sync issues), and Ethernet connection configured for your network.
Customizing the Layout
ATEM Software Control lets you customize which panels are visible. If you don’t use color correction, you can hide that panel to simplify the interface. If you use macros heavily, you might expand the Macros panel.
Right-click on panel tabs to show or hide panels. Create a layout that matches your workflow—typically: preview/program bus prominently displayed, Audio Mixer visible, and Macros nearby for quick access.
Once you’ve got a layout you like, ATEM Software Control remembers it. The next time you launch the software, your custom layout is restored.
Monitoring Your Stream Quality
While you’re streaming, ATEM Software Control shows real-time statistics: bitrate, dropped frames, encoder CPU usage, and network status. If your bitrate drops significantly, you’re experiencing network issues. If you see sustained dropped frames, your ATEM or PC can’t keep up.
Most of the time, these metrics stay green and you don’t think about them. But if something goes wrong during your service, checking these stats tells you whether the issue is your equipment or your network.
Connecting Multiple PCs to One ATEM
If you have a large production team, you can connect multiple PCs to one ATEM device via your network. For example, one PC might be running ATEM Software Control for main switching, while another PC displays just the Multiview, and a third runs the audio mixer. Each PC is independent and receives updates in real time.
This is advanced and requires good network infrastructure, but it’s powerful for larger churches where different team members have different responsibilities.
Troubleshooting Connection Issues
If ATEM Software Control can’t find your device, first verify that the device is powered on and connected to your network (via Ethernet) or USB cable. For USB devices, ensure the USB cable is plugged directly into a motherboard USB port, not a hub.
If the ATEM Mini Pro is connected via Ethernet but ATEM Software Control doesn’t find it, verify that it has an IP address. You can check this by looking at the small LCD on the ATEM Mini Pro—it should show a network status. If there’s no IP address, your DHCP server isn’t working, or there’s a network cable issue.
Restart both the ATEM device and ATEM Software Control. Often this resolves temporary connection glitches.
Your Control Workflow
On Sunday morning, launch ATEM Software Control on your monitoring PC. Verify that it connects to your ATEM. Open your preferred layout (Audio Mixer visible, Macros visible, Color Correction hidden). Test your first macro. Verify audio levels. About five minutes before service, start your stream or recording. Then sit back and operate the switcher, watching the preview bus to anticipate your next move.
ATEM Software Control transforms your ATEM from a device with limited buttons into a full-featured broadcast control center. Master the basic operations (switching, audio, macros) first. Then explore advanced features like color correction and keying as your comfort level grows.
For most self-taught church AV volunteers, ATEM Software Control is the interface they’ll interact with every Sunday. Spending time learning it well pays dividends in production quality and confidence.
Running this with volunteers? Splitting ATEM Mini jobs for church volunteers, and ATEM Software Control on a second computer.