
All Kiloview devices (N2, E1, DC230) are configured through a web-based interface. This guide covers common settings and configuration patterns across all devices.
Accessing the Web UI
Open a web browser on a PC on your church network. Type the Kiloview device’s IP address (found in your router’s connected devices list, or printed on the device). This opens the web interface.
Default login credentials vary by device. Consult your device manual. Once logged in, you’re in the device’s configuration dashboard.
Network Settings
Navigate to Network settings. Verify that the device has obtained an IP address from your DHCP server. If not, you can assign a static IP.
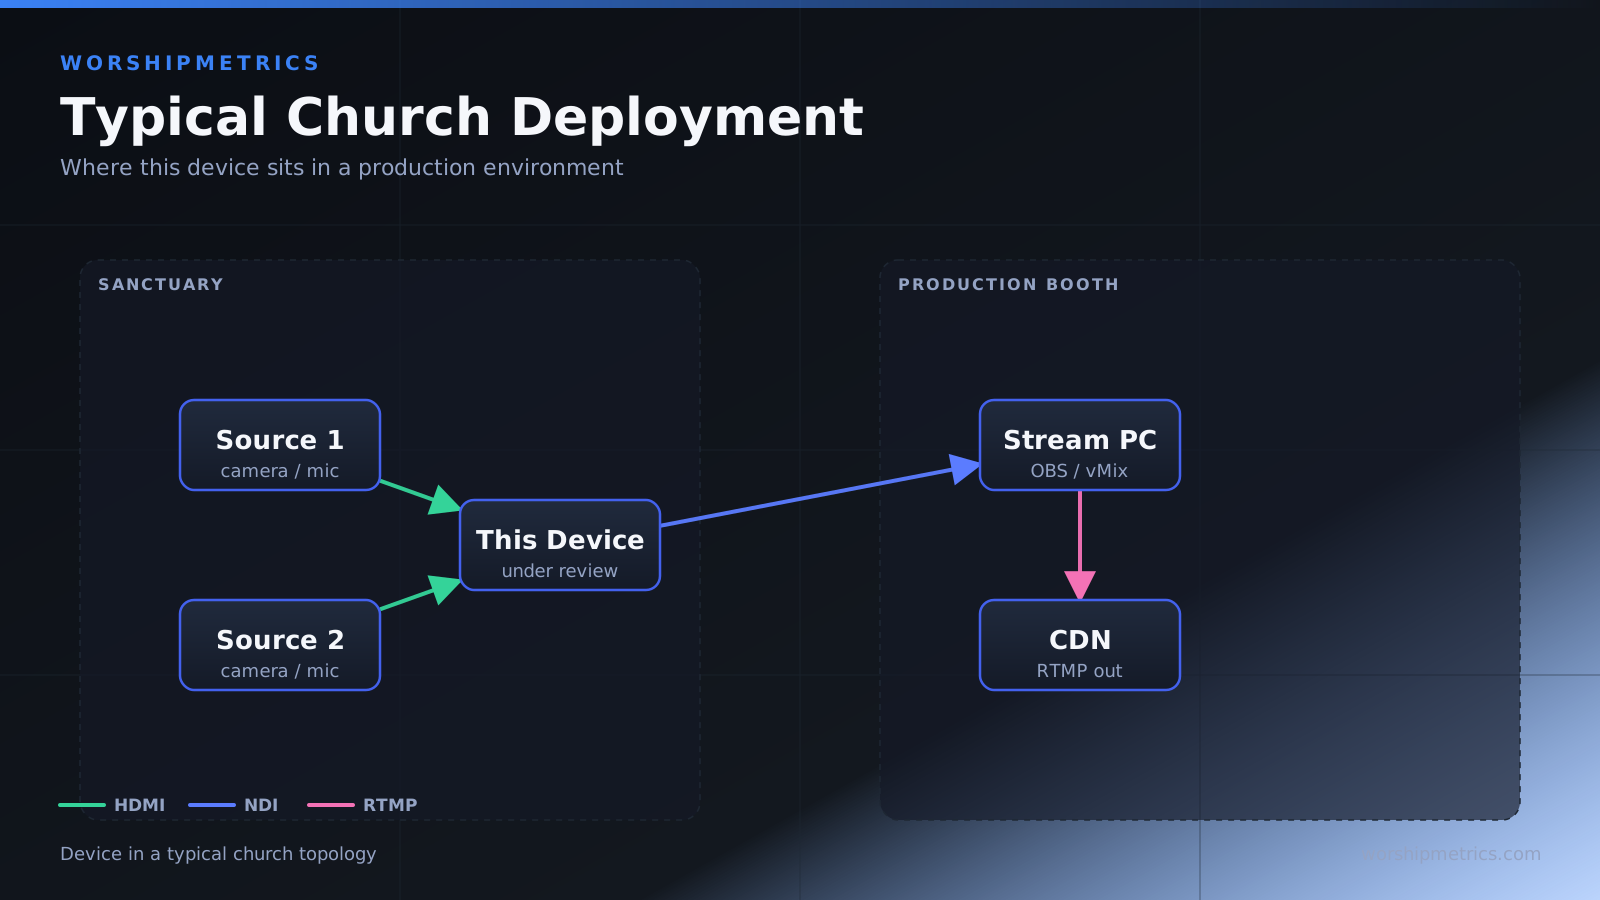
For most churches, DHCP is fine. The device gets an IP, and your switcher or OBS discovers it via that IP.
Verify that your network gateway and DNS settings are correct. The device needs to reach the internet if you’re streaming to YouTube.
Stream Settings (N2 and E1)
For the Kiloview N2 (encoder): Set the NDI output name (descriptive, like “Main-Graphics”). Set resolution (1080p30 is standard). Set bitrate (100 Mbps for high quality, 50 Mbps for lower bandwidth).
For the Kiloview E1 (encoder): Set RTMP destination (YouTube or other streaming platform). Enter your stream key. Set resolution and bitrate. Optionally configure SRT output to a secondary location.
Playback Settings (DC230 Decoder)
For the Kiloview DC230: Configure the input source (SRT, RTMP, etc.). Enter connection details (IP address and port for SRT, stream URL for RTMP). Set HDMI output resolution and refresh rate to match your local display.
Resolution and Bitrate Optimization
Higher resolution and bitrate = better quality but more bandwidth. Common configurations:
1080p30 at 100 Mbps: high quality, uses significant bandwidth. 1080p30 at 50 Mbps: good quality, moderate bandwidth. 720p30 at 25 Mbps: acceptable quality, low bandwidth.
Choose based on your network capacity. Test and monitor during use.
Audio Configuration
The Kiloview devices have HDMI audio (embedded in HDMI). Some models also have analog audio inputs (RCA or XLR).
Verify that audio is routed correctly. If you need to embed audio from a mixer, connect it to the audio input and enable audio embedding in the stream settings.
Security Settings
Change the default login password. Navigate to System or Admin settings and set a new password.
Enable HTTPS if available, for encrypted access to the web UI.
Restrict access to the web UI to your internal network, not the internet.
Firmware Updates
Periodically check for firmware updates. New firmware adds features and fixes bugs.
In the web UI, navigate to System > Firmware. If updates are available, download and install.
Updates typically require a device restart.
Troubleshooting Settings
Many Kiloview devices have a Logs or Diagnostics section. If something isn’t working, check the logs for error messages.
Common issues: network connectivity (check network settings), stream not starting (verify stream key and bitrate), device not discovered (check network settings and restart device).
Reset to Factory Defaults
If you misconfigure a device and want to start fresh, most Kiloview devices have a Factory Reset option in System settings.
Warning: Factory Reset erases all your configuration. Only use this if necessary.
Your Configuration Workflow
Access the device web UI. Verify network connectivity. Configure stream settings (resolution, bitrate, destination). Verify audio configuration. Test with a short stream. Monitor logs for errors. Adjust settings as needed.
Advanced Settings
Many Kiloview devices have advanced settings for advanced users: custom encoding profiles, port configuration, latency tuning, etc.
For churches, the default settings work well. Explore advanced settings only if you have a specific need.
Multiple Devices
If you have multiple Kiloview devices (multiple N2 encoders, E1 and DC230, etc.), configure each independently via its web UI.
Give each device a unique, descriptive name so you can identify them easily.
Documentation and Support
Kiloview provides extensive documentation. If you’re unsure about a setting, consult the manual or contact Kiloview support.
Most settings have tooltips or help text in the web UI explaining their purpose.
Your Long-Term Maintenance
After initial configuration, check your Kiloview devices monthly: verify they have network connectivity, check for firmware updates, review logs for errors.
This preventive maintenance catches issues before they affect your Sunday broadcast.
The Kiloview web UI is straightforward once you understand the common settings. Most of your configuration work happens once during setup, then it’s stable operation from there.