
Once your Kiloview N2 is networked and streaming NDI, adding it as a source in OBS or vMix is straightforward. This guide covers both applications.
Adding Kiloview N2 to OBS
Open OBS. In the Sources panel of your scene, click the plus icon to add a new source. Select “NDI Source” from the list.
A dropdown will appear showing all available NDI sources on your network. If the Kiloview N2 is properly configured and connected, it will appear in this dropdown (usually labeled something like “Kiloview-XXXXXX”).
Select the N2 from the dropdown. The N2 video immediately appears in your OBS preview. You can now position and scale it like any other OBS source.
Adding Kiloview N2 to vMix
Open vMix. Go to Input and select “Add Input” → “NDI Source”.
A list of available NDI sources appears. Select the Kiloview N2 from the list.
The N2 is now available as an input in vMix. You can use it in your production like any other input.
Verifying Video Quality
Once added, verify that the video quality matches your expectations. If the video appears pixelated or contains artifacts, your network might not be able to sustain the N2’s bitrate.
In that case, reduce the N2’s output bitrate in its web UI settings, and test again.
Using Multiple Kiloview N2 Units
You can add multiple Kiloview N2 units to OBS or vMix. Each one appears as a separate NDI source. Position them in different areas of your OBS scene or add them as separate vMix inputs.
This is how churches with multiple remote graphics sources (ProPresenter at one location, a live feed from another location) combine them centrally.
Audio from Kiloview N2
The Kiloview N2 encodes video only. It does not encode audio. If you need audio from the source feeding the N2 (like audio from ProPresenter), send it separately via a USB audio interface or mixer connection to OBS/vMix.
The audio and video will need to be synced in OBS or vMix.
Changing N2 Output Settings
If you need to adjust the N2’s resolution, bitrate, or other settings, open the N2’s web interface and modify the Stream settings. Changes take effect immediately.
OBS and vMix will automatically detect the new settings. No need to re-add the source.
Testing Your Setup
Stream to an unlisted YouTube video with your N2 source visible in OBS or vMix. Let it run for 10 minutes while you monitor for dropped frames, pixelation, or lag.
Check the YouTube stream on a different device to verify that the remote source (via N2 NDI) looks good to viewers.
Bandwidth Monitoring
NDI streams consume significant network bandwidth. Monitor your available bandwidth if you’re streaming multiple N2 units or other high-bandwidth network services simultaneously.
If you experience quality degradation, check whether other applications are consuming network bandwidth.
Your Workflow
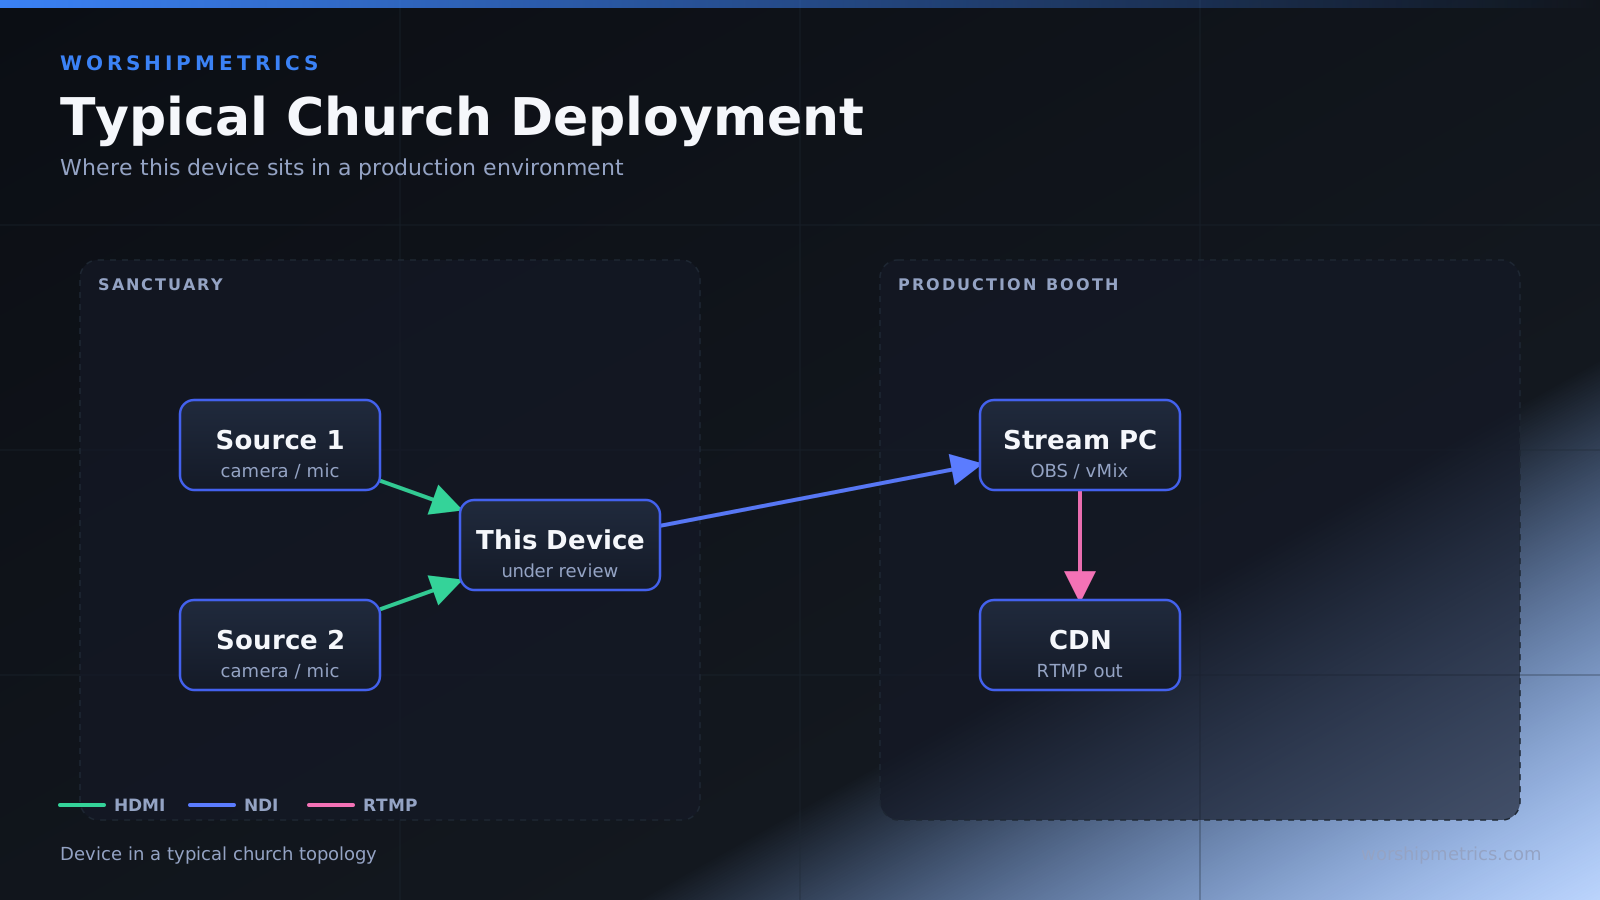
Kiloview N2 (e.g., ProPresenter graphics) → Ethernet → Your network → OBS/vMix → YouTube.
The N2 replaces long HDMI cables with Ethernet network transport. This is useful for remote locations, multiple rooms, or situations where HDMI cable runs are impractical.
The Kiloview N2 is a simple device that transforms how you distribute video over your network. Once set up, it works reliably and transparently.