
The Blackmagic Web Presenter HD is not a switcher—it’s an encoder. It takes HDMI input (like your ProPresenter graphics or presentation content) and converts it to a USB video feed that you can use in OBS or another streaming application. For churches that want to stream a graphics-only feed (worship slides, announcements, teaching slides), the Web Presenter HD is a dedicated, reliable tool.
This guide covers setup and integration with OBS for streaming.
Understanding the Web Presenter HD
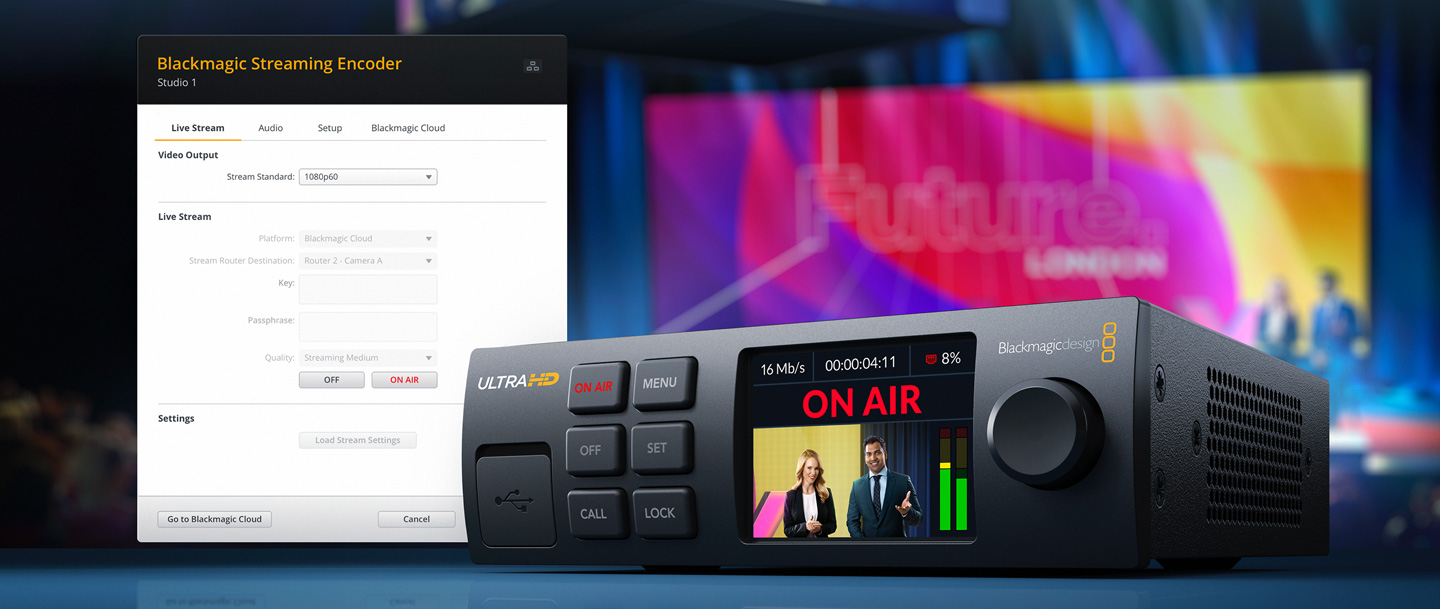
Think of the Web Presenter HD as a USB camera for your presentation content. Plug in your HDMI source (ProPresenter, PowerPoint, etc.), connect USB to your streaming PC, and that HDMI content appears as a USB video device in OBS.
It’s simpler than running a full switcher if you only need to stream presentation content. It’s also cheaper than buying a switcher if graphics-only streaming is your goal.
Physical Setup
Connect your HDMI source (ProPresenter running on a graphics PC, or a laptop with PowerPoint) to the HDMI input on the Web Presenter HD. Connect the USB-C cable to your streaming PC.
Power on the Web Presenter HD. The device will draw power from the USB connection, so no separate power adapter is needed.
USB Detection and OBS Configuration
When you connect the Web Presenter HD to your PC via USB, it appears as a USB video device. Open OBS and create a new Video Capture Device source. Select the Web Presenter HD from the dropdown.
OBS will immediately begin displaying the HDMI content from your ProPresenter feed. The video quality is excellent—1080p at 30 or 60 frames per second depending on your configuration.
Audio Considerations
The Web Presenter HD captures video only. It does not have audio inputs. If you need audio for your stream, you’ll need to capture it separately.
Most churches stream presentation slides with audio from their mixer or from music playing in the room. Configure your audio input separately in OBS—either from your mixer via a USB audio interface or from your streaming PC’s line input.
Sync your audio and video so they’re in time. This is usually automatic in OBS, but if you notice delay, you can adjust audio sync in OBS’s advanced audio settings.
Streaming to YouTube with ProPresenter Content
Open OBS. Add your Web Presenter HD as a video source. Add your audio source. Configure streaming to your YouTube channel. You’re ready to stream ProPresenter content.
This is useful for: worship services where you want to stream opening slides while people are arriving, conferences or seminars where you’re streaming educational content, or prayer times where you’re streaming a static slide.
Multiple Web Presenter HD Units
If you want to stream multiple HDMI sources simultaneously, you can use multiple Web Presenter HD units. Plug each one to a different USB port on your streaming PC, and each appears as a separate video device in OBS.
This is how some churches handle streaming multiple presentation sources (worship slides on one screen, teaching slides on another) to different YouTube streams simultaneously.
EDID and Resolution Configuration
The Web Presenter HD supports various resolutions and refresh rates. Your HDMI source will output at its native resolution, and the Web Presenter HD will capture and encode it.
For most churches, 1080p30 or 1080p60 is appropriate. If you need to force a specific resolution, the Web Presenter HD has settings (accessible via Blackmagic software utility) to configure this.
In most cases, plug it in and it works automatically without configuration.
Color Space and Compatibility
The Web Presenter HD handles color space conversion automatically. Whether your ProPresenter output is SDR (standard dynamic range), HDR (high dynamic range), or any other standard, the Web Presenter HD converts it to a format compatible with USB and OBS.
You don’t need to think about this—it’s handled transparently.
Latency and Streaming Performance
The Web Presenter HD adds minimal latency. Your HDMI input appears in OBS with almost no delay, so your stream feels responsive.
Total streaming latency is determined by your internet connection and YouTube’s encoding, not the Web Presenter HD.
Comparison to Using a Laptop
Many churches use a laptop running ProPresenter and output that directly to OBS via a USB cable or other means. The Web Presenter HD is an alternative that’s more professional and more reliable.
Benefits of the Web Presenter HD: You can run ProPresenter on a dedicated graphics PC and use the Web Presenter HD to transport that content to a separate streaming PC without needing any special software. The Web Presenter HD is more stable than software-based USB solutions.
If you’re comfortable running ProPresenter on the same PC that’s running OBS, a Web Presenter HD might be overkill. But if you want to separate your graphics operation from your streaming operation, the Web Presenter HD is a clean solution.
Troubleshooting Connection Issues
If OBS doesn’t detect the Web Presenter HD, verify that the USB cable is connected and the device is powered. Check your PC’s Device Manager to see if the device appears as a USB video device.
If it appears in Device Manager but not in OBS, restart OBS. Sometimes it needs to be restarted after the device is plugged in.
Your Setup Workflow
Connect ProPresenter output to the Web Presenter HD HDMI input. Connect the Web Presenter HD to your streaming PC via USB. Open OBS and add the Web Presenter HD as a video source. Add your audio source. Configure and start your stream to YouTube.
During the service, manage your ProPresenter slides on the graphics PC. The Web Presenter HD automatically captures and streams whatever is displayed.
The Web Presenter HD is an elegant solution for churches that want to stream presentation content without needing a complex switcher or multi-PC setup. It’s simple, reliable, and affordable.