
The Web Presenter HD can serve a different purpose than standalone presentation streaming: it can be an input to your ATEM switcher. Connect your ProPresenter output to the Web Presenter HD, and feed the Web Presenter HD’s USB output into your streaming PC running OBS alongside your ATEM Mini. This gives you a dedicated, reliable graphics feed that you control separately from your camera switching.
This approach is useful for churches that want clean separation between graphics operations and camera operations.
Understanding This Integration Pattern
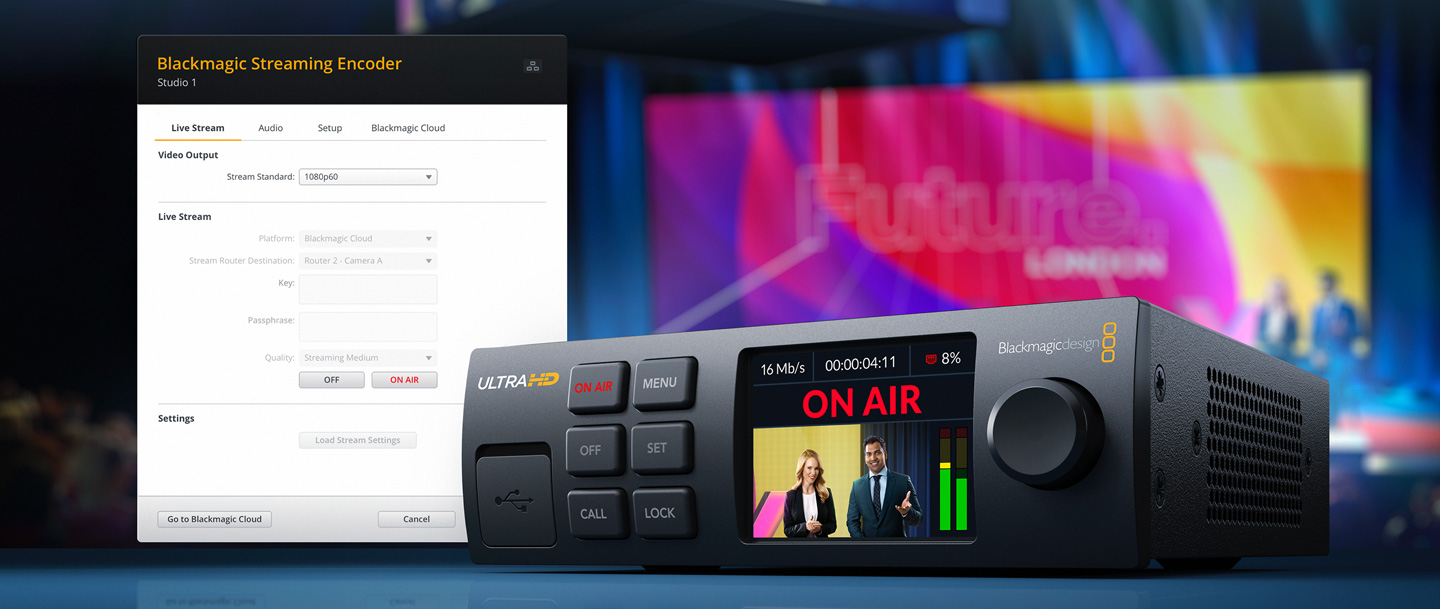
Instead of keying ProPresenter directly into the ATEM (which the ATEM’s keyer handles), you use the Web Presenter HD to transport ProPresenter to your streaming PC. From there, you can either use it as a second video source in OBS or feed it back into the ATEM via a capture card.
This sounds convoluted, but it has advantages: your ProPresenter graphics feed is isolated and stable, your graphics operator works independently of your camera operator, and you have flexibility to use the graphics feed in multiple ways.
Hardware Setup
Connect your ProPresenter output (HDMI from the graphics PC) to the Web Presenter HD’s HDMI input. Connect the Web Presenter HD to your streaming PC via USB. This is standard Web Presenter HD usage.
In your streaming PC, the Web Presenter HD appears as a USB video device.
Option A: OBS Multi-Source Streaming
In OBS, add both your ATEM Mini (as a USB Video Capture Device) and your Web Presenter HD (as a separate USB Video Capture Device) as sources in the same scene.
Position the ATEM source to fill most of the screen. Position the Web Presenter HD source in a corner or lower third. Both streams are now composited together in OBS for streaming.
This is straightforward and works well if your streaming PC is powerful enough to handle two simultaneous USB video inputs. Most modern PCs handle this easily.
Option B: Feeding Web Presenter HD Back to ATEM
Alternatively, use an HDMI video capture card (like a BlackMagic DeckLink or Magewell card) to capture the Web Presenter HD’s output and feed it back into your ATEM as a “camera” input.
This is more complex and usually unnecessary. Option A (direct compositing in OBS) is simpler.
Workflow: Graphics-Switching Separation
Your camera operator uses the ATEM to switch between cameras. Your graphics operator controls ProPresenter slides independently. When you want graphics visible, the graphics operator displays the desired slide in ProPresenter, and it appears in the Web Presenter HD feed, which is visible in OBS.
Both operators work independently, which is powerful for larger productions where you need full-time graphics operation.
Advantages of This Approach
Your ProPresenter feed is isolated and stable. If there’s an issue with camera switching, graphics are unaffected. If there’s an issue with graphics, you can recover without interrupting your ATEM switching.
Your graphics operator doesn’t need to understand ATEM controls or macros. They just manage ProPresenter slides.
Your streaming PC orchestrates everything—it receives the ATEM video and the Web Presenter HD video and composites them for streaming.
Managing Multiple USB Devices
If you’re running multiple USB devices (ATEM Mini via USB, Web Presenter HD via USB), use good-quality USB cables and plug each directly into motherboard USB ports, not a hub.
Some streaming PCs have limited USB bandwidth, especially if you’re also running wireless receivers, external hard drives, or other USB peripherals. If you experience issues, reduce the number of USB devices or upgrade to a PC with better USB infrastructure.
Quality and Latency Considerations
Both USB Video Capture Device sources are captured at full quality with minimal latency. Your final OBS output shows both feeds in sync and at good quality.
Audio from your ATEM flows through the ATEM’s audio mixer. Audio from ProPresenter (if you’re using on-screen text without separate audio) is not relevant, since your actual audio comes from your mixer.
Testing This Setup
Before going live, stream a test to YouTube with both feeds visible. Have your camera operator switch between cameras while your graphics operator changes slides. Verify that both operations work smoothly and that the composite looks professional.
Check the stream on a different device to see how it looks to viewers. Make sure the positioning of the Web Presenter HD feed (corner, lower third, etc.) doesn’t interfere with important content from the ATEM.
Comparing to Native ATEM Keying
The Web Presenter HD approach is more complex than simply keying ProPresenter directly into your ATEM. It’s only worthwhile if you have a dedicated graphics operator or if you value the operational independence of separate graphics and switching teams.
For most churches, keying ProPresenter directly into the ATEM (using the ATEM’s upstream keyer) is simpler and sufficient.
Use the Web Presenter HD integration if: you have a dedicated graphics team, you want graphics and switching operations to be independent, or you’re streaming to multiple destinations and want to use the ProPresenter feed in multiple ways.
Your Workflow
Graphics operator runs ProPresenter on a graphics PC. ProPresenter output goes to the Web Presenter HD via HDMI. Web Presenter HD USB output goes to your streaming PC.
Camera operator manages the ATEM, switching between cameras and running macros. ATEM USB output goes to the same streaming PC.
Streaming operator in OBS composites both feeds and manages the final stream to YouTube.
Three people, three responsibilities, three independent workflows—all coordinated through OBS. This is the architecture of larger broadcast control rooms adapted for a church environment.
The Web Presenter HD is a small device with surprisingly flexible applications. Whether you’re using it for standalone presentation streaming or as part of a larger multi-source broadcast system, it provides a clean, reliable way to transport HDMI content over USB.