
The ATEM Television Studio HD has dedicated monitor outputs for program and multiview, which means you can drive multiple displays simultaneously without needing external hardware. This is essential for professional production where your operator needs both a program monitor (showing what’s live) and a confidence monitor (showing all inputs and status).
This guide covers setting up and optimizing your monitoring setup.
Monitor Outputs on the Television Studio HD
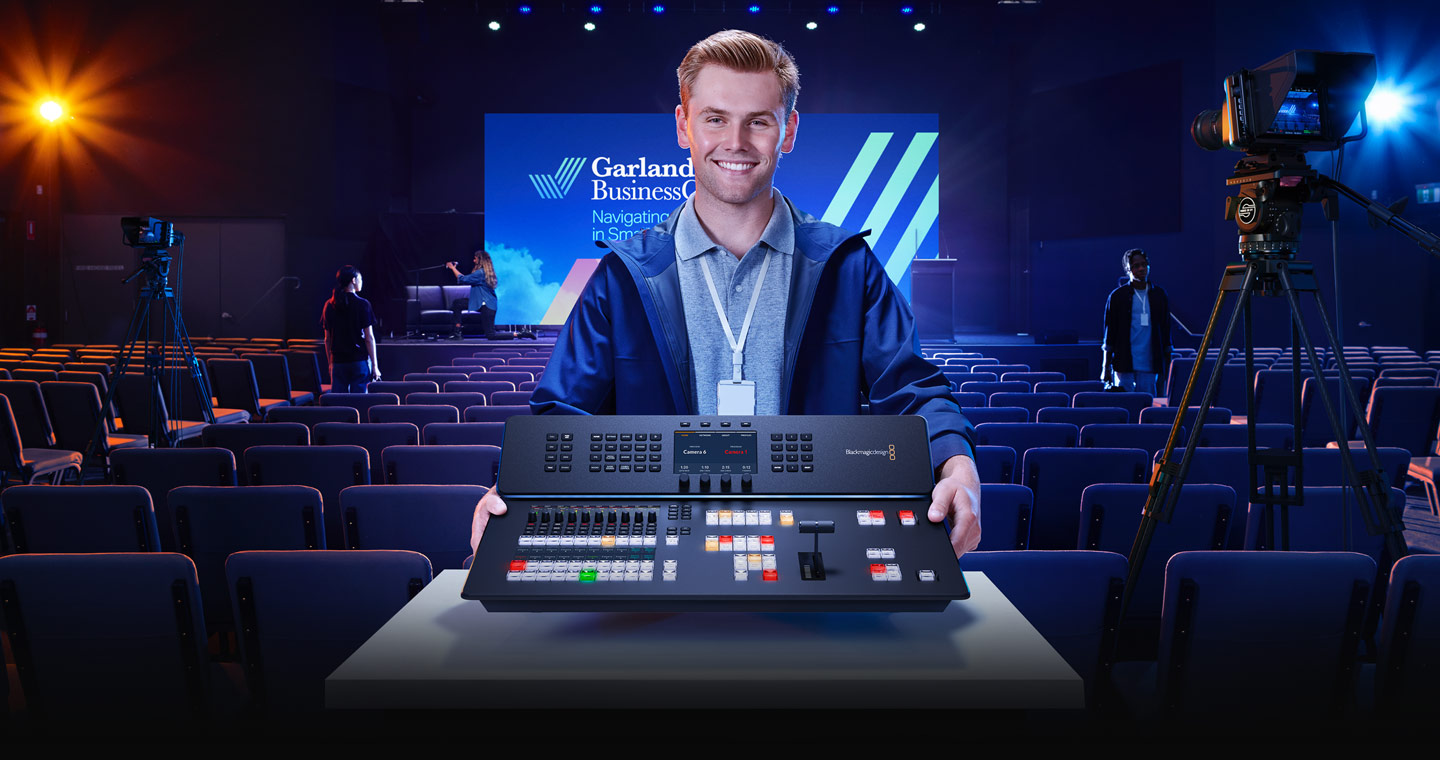
The Television Studio HD has separate HDMI outputs for program and multiview. Connect your main broadcast monitor to the program output and a second monitor to the multiview output. This gives your operator both views simultaneously.
The program output is what your broadcast audience sees. The multiview output is internal monitoring—it’s not sent to YouTube or your streaming destination.
Sizing Your Monitors
Your program monitor (showing what’s live) should be clearly visible from your operator’s position. A 24–27 inch monitor is standard for broadcast control rooms. Position it directly in front of your operator.
Your multiview monitor can be smaller or larger depending on your setup. A 21–27 inch display works well. Position it to the side or below your program monitor so your operator can glance at it without losing sight of the program output.
Some large production facilities have multiple monitors—one for program, one for multiview, one for streaming status, one for prompter, etc. For churches, two monitors are usually sufficient.
Configuring Multiview Content
In the ATEM Television Studio HD settings (accessed via ATEM Software Control), you can configure what appears on the multiview display. By default, it shows all inputs in a grid plus audio levels and status information.
Customize which inputs appear, the layout of the grid, and what additional information is displayed. Most churches accept the default layout, which shows all cameras, audio meters, and current program/preview status.
Color Coding for Program and Preview
The multiview display typically shows the currently selected program input in one color (often red) and the preview input in another color (often blue or yellow). This helps your operator instantly see which camera is live and which is queued up.
Pay attention to these color cues during service. They’re your visual confirmation that you’ve got the right camera selected before you move the T-bar.
Monitor Calibration and Color Accuracy
For most church applications, monitor calibration isn’t necessary. Your monitors don’t need to be calibrated to broadcast standards. You just need them to show accurate, readable images.
However, if your church plans to do color correction work (adjusting camera colors to match), proper monitor calibration becomes important. A color-accurate monitor ensures that the adjustments you make in post-production will look correct when viewed elsewhere.
For streaming-only applications, calibration is optional.
Audio Meters on Multiview
The multiview display includes stereo audio meters showing your output audio level. Watch these meters during service to verify that audio is in the correct level range (green zone, with occasional peaks into yellow during loud moments).
If the meters show consistently hot levels (clipping into red) or very low levels (barely moving), adjust your audio via the control panel faders.
Monitor Burn-In Prevention
Keep your multiview and program monitors clean and dust-free. Consider enabling screen saver functionality during long periods when the switcher isn’t active (overnight, between services).
Modern LED monitors are resistant to burn-in, but if you leave static content on screen for extended periods, it can cause image persistence.
Troubleshooting Monitor Issues
If your program monitor goes dark but your multiview is fine, check the HDMI cable connecting the program output to the monitor. Verify both cables are firmly connected and that both monitors are powered on.
If multiview shows static or no image, verify the HDMI cable and also check that multiview output is enabled in the Television Studio HD settings.
If the monitor shows a compressed or distorted image, check the monitor’s aspect ratio setting. Make sure it’s set to 16:9 to avoid squashing or stretching your video.
Monitor Positioning for Operator Comfort
Position your monitors at eye level when your operator is seated. This prevents neck strain during long services or events.
The program monitor should be directly in front, and the multiview monitor should be to the side at roughly a 30-degree angle, so your operator can see it without turning their head too far.
Some operators prefer the multiview above the program monitor in a stacked arrangement. Experiment to find what works for your operator.
Using External Confidence Monitors
Some larger productions use external confidence monitors for other team members (director, technical supervisor, camera operators). These connect to separate outputs on the switcher.
If you’re doing this, use the same monitor standards for all external displays so everyone sees consistent image quality.
Your Monitoring Workflow
During setup, verify that both your program and multiview monitors are receiving signal and displaying correctly. Do a quick test of a few camera switches to verify that color coding (red for program, blue for preview) is accurate.
During the service, your operator watches the program monitor to see what’s live and glances at multiview to see all cameras and plan ahead.
After the service, turn off both monitors. They’ll last longer if not run continuously.
The ATEM Television Studio HD’s dual monitor outputs enable professional-grade monitoring. Your operator has all the information they need visible simultaneously, reducing mistakes and enabling smooth, confident operation during live broadcast.