
The control panel is where the ATEM Television Studio HD differentiates itself from the Mini family. Instead of clicking buttons in software, you operate dedicated hardware—buttons, faders, rotary encoders, and a jog wheel. For experienced broadcast operators, this is fast, intuitive, and reliable.
This guide walks through the control panel layout and how to operate it effectively during live production.
Control Panel Layout
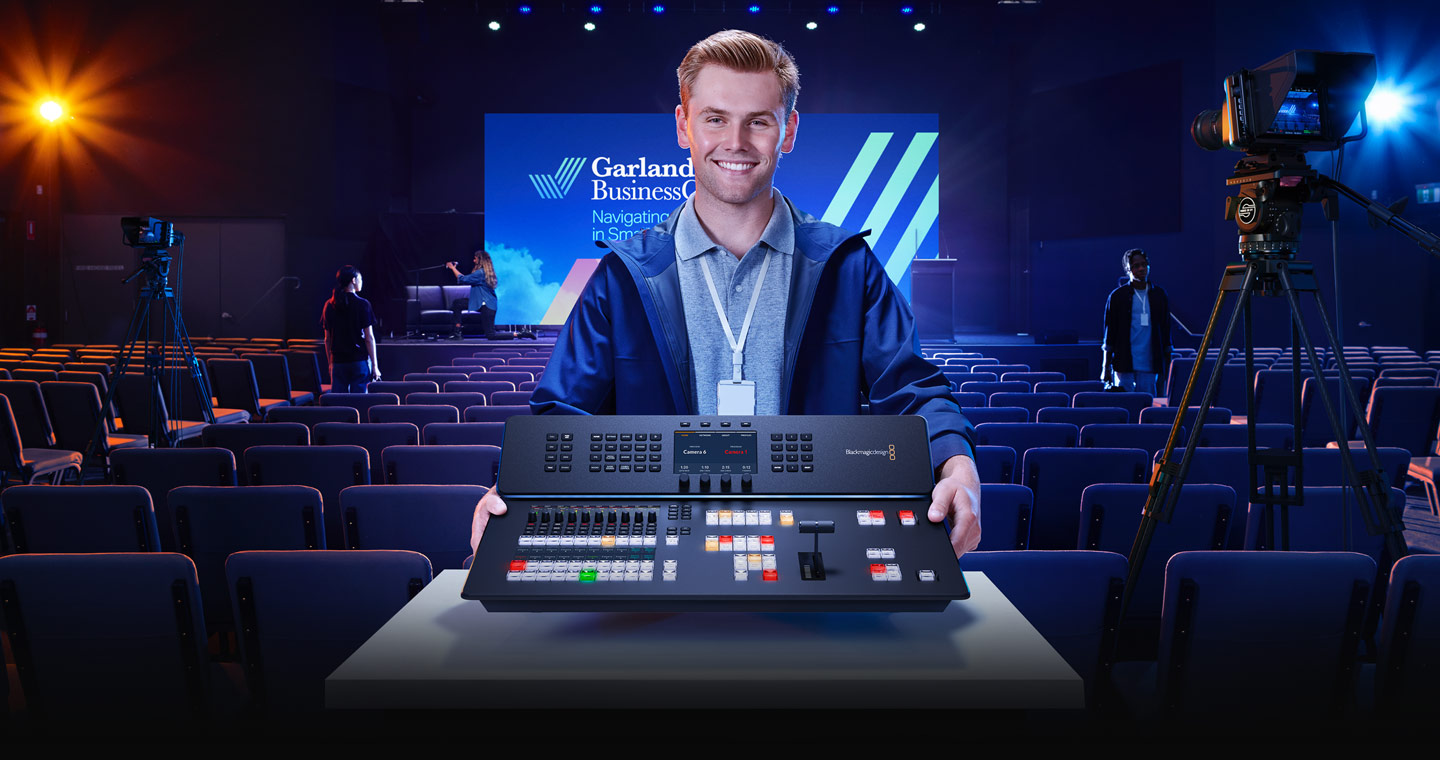
The control panel has several sections. On the left are input buttons—one for each camera or input source. Pressing an input button selects it for preview or program. In the center is the T-bar for transitions. On the right are effect and keyer controls.
Above the main section are faders for audio level adjustment. Below are buttons for macros, recording, and streaming control.
Familiarize yourself with the layout before your first live broadcast. Even though the panel is physically larger than a Mini, the functions are organized logically.
Selecting Inputs and Making Switches
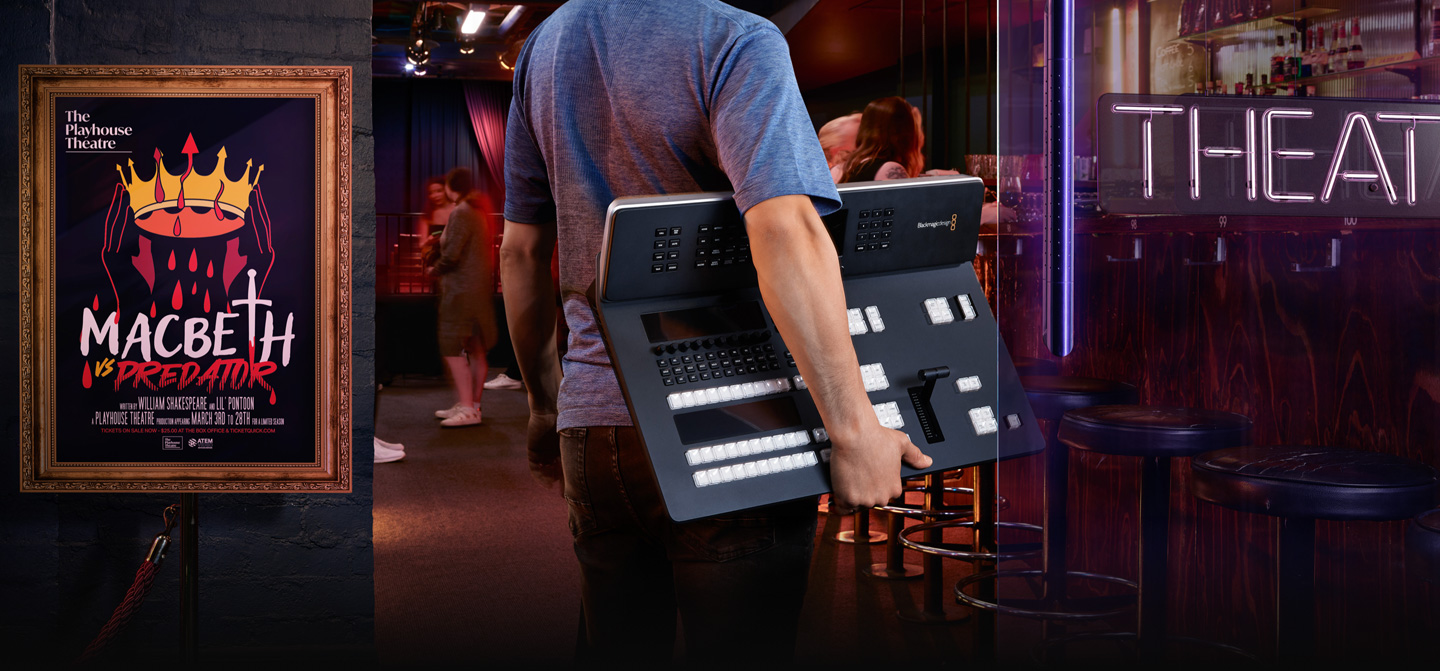
Press an input button to preview it (select it in the preview bus). The control panel shows which input is currently in preview via LED indicators. Move the T-bar to execute the transition from program to preview. This is identical to operating a Mini—just with physical buttons instead of software.
Speed comes from muscle memory. After a few hours of operation, your hands know where every button is without looking.
The T-Bar and Transition Control
The T-bar is a large slider in the center of the panel. Push it toward you to transition from program to preview. Pull it away to transition from preview back to program.
The speed of the T-bar determines the transition speed. Push it smoothly for a slow fade. Push it quickly for a snap cut. This tactile feedback is one of the advantages of hardware control—you feel the transition happening.
Most churches use snappy cuts for camera switches (quick T-bar movement) and slower transitions for graphics or effects (slow T-bar movement).
Audio Level Faders
Physical faders on the control panel control audio levels for each input. Slide a fader up to increase level, down to decrease. You see the level in the LED meter next to each fader.
This is much faster than adjusting audio levels in software. During a service, if the worship leader suddenly sounds quieter, your audio operator slides the fader up instantly.
The control panel usually has master faders for overall output level, plus individual channel faders for each input.
Macro Buttons
Dedicated macro buttons on the control panel let you trigger macros just by pressing a button. No need to navigate menus or software. If you’ve recorded a “Song” macro to button 1, press button 1 and the macro plays.
Some operators prefer to work entirely with the control panel, never opening a PC or software interface. For them, macro buttons are essential.
Jog Wheel and Clip Playback
The Television Studio HD has a jog wheel that lets you scrub through clips or adjust values. If you’re playing video clips, the jog wheel lets you frame-by-frame through the clip. If you’re adjusting keyer position or other values, the jog wheel is another way to make fine adjustments.
Jog wheels take practice to master, but they’re faster than other adjustment methods once you’re comfortable.
Monitoring and Confidence Checks
Use the control panel’s small LCD display or external monitors to see what’s happening. Many setups have both a program monitor (showing your live output) and a multiview monitor (showing all inputs).
Check your multiview before switching to a new input. Make sure the camera you’re about to switch to is framed correctly and has good video signal. This prevents on-air errors.
Workflow During a Service
Start with your first input selected. As the service progresses, preview the next input, then execute the transition via the T-bar. Adjust audio levels as needed via the faders. Everything happens in real time on the control panel.
Many professional operators run their entire service from the control panel without ever touching a mouse or keyboard. The panel becomes an extension of their hands.
Troubleshooting Panel Issues
If a button doesn’t respond, it might be disconnected. Verify the Ethernet cable connecting the control panel to the main switcher is secure.
If you press a button and the wrong thing happens, you might have accidentally reassigned that button’s function. Most control panels let you customize button assignments. Check your documentation or consult ATEM Software Control to verify the assignments.
If the audio faders aren’t controlling audio, verify that the audio channels are routed to those faders. Some configurations have faders that control different elements (like keyer position rather than audio).
Transitioning from Software to Hardware Control
If you’re upgrading from an ATEM Mini (software-based) to a Television Studio HD (hardware control panel), expect a learning curve. The control panel is intuitive, but muscle memory takes time.
Spend a few rehearsals practicing with the panel. Get comfortable with button locations, jog wheel operation, and T-bar speed. Most operators are proficient after 3–4 services.
The Advantage of Hardware Control
Hardware control is faster, more intuitive, and more reliable than software control for live broadcast. Your operator’s hands stay on the panel, giving constant tactile feedback. There are no software crashes or latency issues.
This is why professional broadcast control rooms use hardware. Once you experience the workflow, you understand why.
Your Control Panel Workflow
Arrive early and power up the control panel. Verify all buttons are responsive and audio faders are working. Run a quick test of a few camera switches and audio level adjustments.
During the service, operate the panel smoothly and deliberately. Your congregation and online viewers won’t see the control panel, but they’ll see the results of your work. Smooth transitions, correct cameras, good audio—these all flow from confident panel operation.
The ATEM Television Studio HD control panel is a professional tool that enables professional results. Master it, and you’re operating at the level of broadcast television. It takes practice, but the payoff is worth it.