
The ATEM Mini Pro doesn’t have built-in storage for recording, but it can record directly to an external USB drive—either a fast USB 3.0 flash drive or an SSD in a USB 3.0 enclosure. This is useful if you want a local backup of your service in addition to your YouTube recording, or if you need to archive services for later re-editing.
This guide covers everything from choosing the right USB drive to managing your recorded files after service.
Understanding USB Recording vs. Streaming
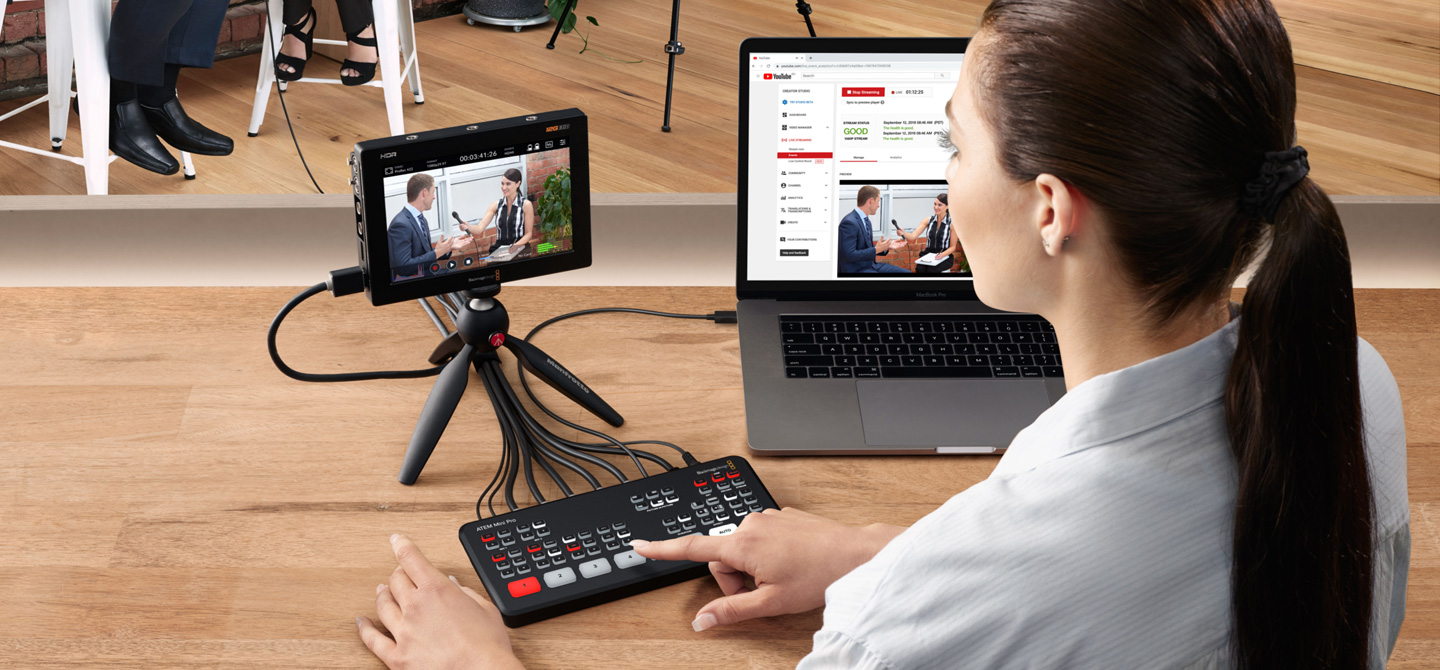
When you stream to YouTube via the ATEM Mini Pro, the video goes to YouTube and YouTube stores the recording. That YouTube recording is your archive.
USB recording is different: you’re saving a local file to a physical drive connected to the ATEM Mini Pro. This is useful for redundancy (you have a local copy if YouTube is ever unavailable), for re-editing (you have the high-quality original, not YouTube’s re-encoded version), or for long-term archival storage.
The ATEM Mini Pro can record while simultaneously streaming to YouTube, so you get both: a YouTube version for people to watch immediately, and a local file for your archives.
Choosing the Right USB Drive

USB 3.0 is essential. USB 2.0 is far too slow for sustained video recording. USB 3.0 is rated at 5 Gbps, and real-world drives sustain hundreds of megabytes per second, far more than an H.264 recording needs.
A fast USB 3.0 flash drive (like a SanDisk Extreme or Kingston DataTraveler) works in a pinch. However, if you’re recording longer services or high bitrates, an external SSD in a USB 3.0 enclosure is more reliable. SSDs have consistent performance and are less prone to thermal throttling under sustained write load.
For a one-hour church service at 50 Mbps bitrate, you’ll need about 22.5 GB of space. Most modern USB drives and SSDs have 128 GB or more, so a single drive can store multiple services.
Formatting the USB Drive
Before you use a new drive for ATEM recording, format it correctly. The ATEM Mini Pro prefers exFAT format, which supports large file sizes and works on both Mac and Windows.
On Windows, right-click the USB drive in Explorer, select Format, and choose exFAT. Give it a descriptive name like “ATEM Recordings” and confirm.
On Mac, open Disk Utility, select the USB drive, click Erase, and choose exFAT format from the dropdown.
Once formatted, the drive is ready for ATEM recording.
Configuring Recording in ATEM Software Control
Open ATEM Software Control and look for Recording settings (usually under Control Panel or Monitoring). You’ll see options for recording destination and format.
Select the USB drive from the dropdown (it should appear as an available destination once you’ve plugged it in and the ATEM Mini Pro has recognized it). The ATEM Mini Pro records H.264 .mp4 files with AAC audio; it doesn’t offer ProRes or DNxHD.
H.264 keeps the files a manageable size for weekly archiving.
Actually, most churches don’t record the ATEM Mini Pro output to USB—YouTube handles that. Instead, some churches record ISO (isolated) video feeds to USB if they have an ATEM with ISO capability. For the standard ATEM Mini Pro, USB recording of the program output is an option but rarely used because YouTube already has your recording.
Recording to USB as Backup
If you do want to record the program output to USB (as a backup to YouTube), the process is simple: plug in your USB drive, select it in ATEM Software Control, and click Start Recording. The ATEM Mini Pro will record your program feed to the USB drive while simultaneously streaming to YouTube.
Stop recording when the service ends. The ATEM Mini Pro will finalize the file, and you can unplug the USB drive.
File Management and Post-Production
Once you’ve recorded to USB, you’ll have one or more video files on the drive. These are H.264 .mp4 files. You can play them back on any Mac or PC, or import them into a video editor like DaVinci Resolve.
For organization, create folders on the USB drive by date or service type. For example: “2024-01-01_Sunday Service” or “April_2024_Recordings”. This keeps your files organized and easy to find.
If you’re archiving for the church, consider copying these files to a separate long-term storage drive annually. USB drives can fail, and having multiple copies of important services ensures you don’t lose them if a drive fails.
Transfer Speed and Time
Copying a one-hour service file from the USB drive to your PC’s local storage depends on the transfer speed of both the USB drive and your PC’s USB port. USB 3.0 is rated at 5 Gbps, so the port is rarely the bottleneck.
In practice, real-world transfer speeds are usually 100–200 MB/s, so a one-hour file at 50 Mbps (about 22.5 GB) takes two to four minutes. Plan accordingly—don’t unplug the USB drive immediately after recording; let the ATEM Mini Pro finalize the file first.
Archival and Long-Term Storage
If you’re keeping recordings for more than a few years, consider that file formats evolve. H.264 .mp4 is widely supported today, but standards change. Every five to ten years, migrate your recordings to the newest format and storage media to ensure they remain playable.
Also consider metadata. Renaming files “2024-01-07 Sunday Service.mp4” is more useful than “ATEM_20240107_110000.mp4”. The extra detail helps you find the right recording years later.
When USB Recording Makes Sense
For most churches, YouTube’s recording is sufficient. You get a copy of every service, it’s stored in the cloud, and it’s available on demand.
USB recording makes sense if: you want local backups for disaster recovery, you plan to re-edit services for highlights or training content, you need archival storage for legal or insurance purposes, or your internet is unreliable and you want a guaranteed local copy.
If you do none of these, skip USB recording. It adds complexity and requires drive management. Let YouTube be your archive.
Troubleshooting Recording Issues
If you try to start recording and get an error, verify that the USB drive is properly formatted (exFAT) and that it has adequate free space. The ATEM Mini Pro won’t record if the drive is full.
Also verify that the USB drive is actually connected to the ATEM Mini Pro. The device needs to recognize the drive before you can select it in ATEM Software Control.
If recording stops unexpectedly, the USB drive might have become disconnected, or the drive might be failing. Try the recording with a different USB drive to rule out hardware failure.
Your Recording Workflow
Plug in your USB drive. Open ATEM Software Control and select it as the recording destination. Start the service and streaming as normal. The ATEM Mini Pro records to USB simultaneously with streaming to YouTube. After the service, stop recording and let the file finalize. Unplug the USB drive, copy the files to your computer for backup, and you’re done.
USB recording is optional, but for churches that want redundancy and archival capability, it’s a straightforward way to get it. The ATEM Mini Pro handles the complexity—you just plug in the drive and let it work.