
The ATEM Mini Pro’s multiview output is one of its most practical features for live church production. Multiview sends all six camera inputs plus audio meters, timers, and status information to a single monitor, letting your switcher operator see everything happening on stage and know exactly what shot is coming next.
This guide covers setting up your multiview monitor, optimizing what it displays, and using it effectively during a live service.
Understanding Multiview
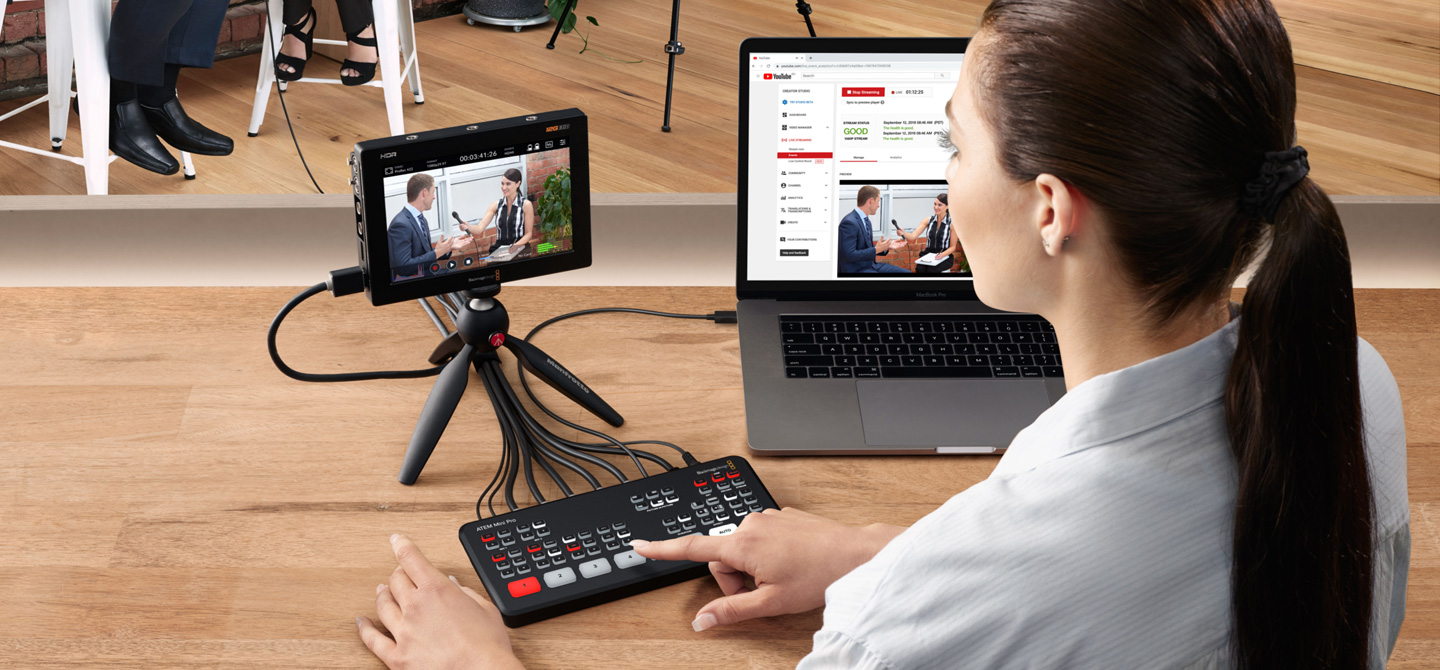
Multiview is a single HDMI output that combines multiple video sources into one display. Instead of having your switcher staring at a program monitor (showing what’s live) and a preview monitor (showing what’s next), multiview shows all inputs simultaneously in a grid layout, with the currently selected program feed highlighted or displayed prominently.
Most church AV teams position a monitor running multiview at the ATEM Mini Pro’s location, where the switcher operator can see all cameras at once. This prevents the situation where the operator switches to a camera that’s pointing at the floor or has a speaker who’s walked out of frame—you can see all cameras before you switch to them.
The multiview display also shows audio levels in real time, so if you notice audio is too quiet or too loud, you can adjust it before it reaches your stream. You’ll see which input is currently on the program feed (usually highlighted in red or with a bright border) and which is in preview (usually with a dimmer border).
Physical Connection
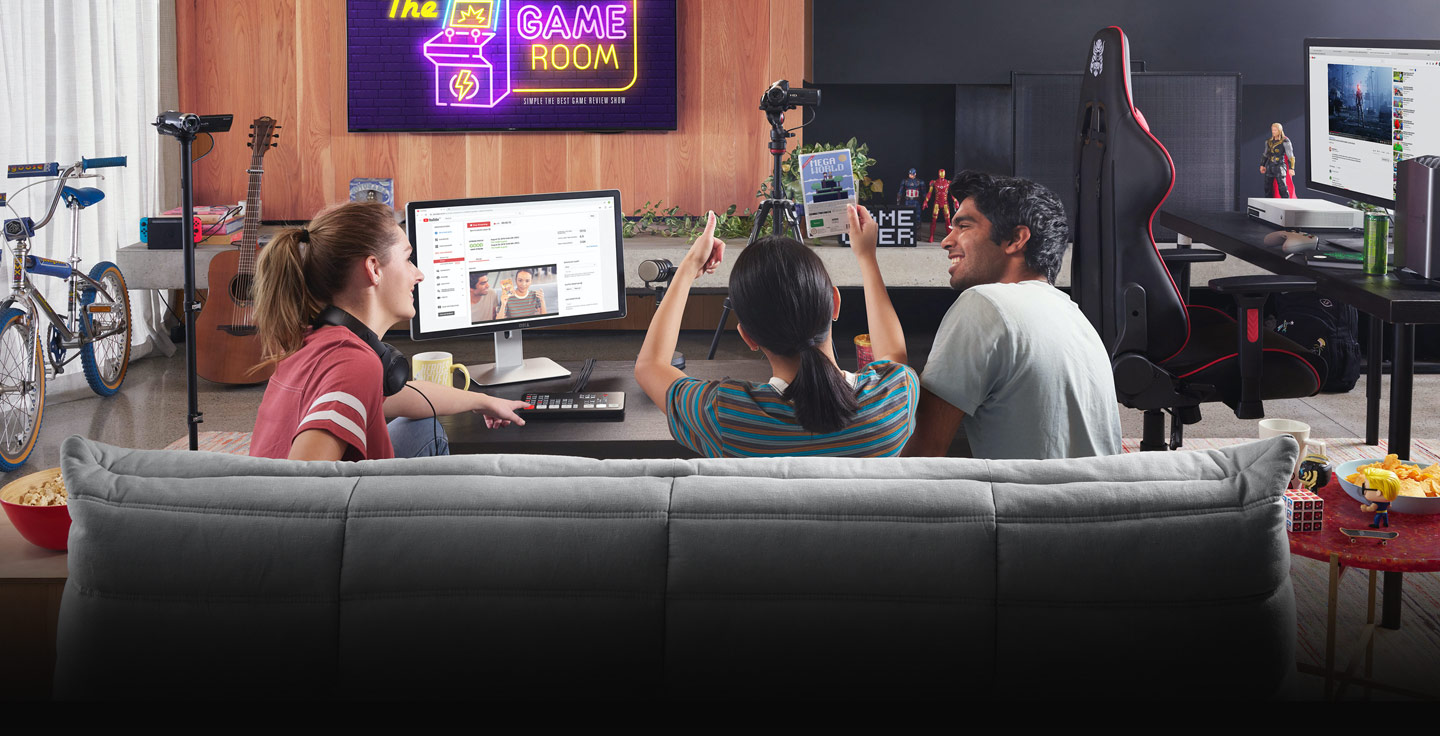
Connect an HDMI cable from the ATEM Mini Pro’s Multiview HDMI output to a monitor. Use a monitor of any size—many churches use 21–27 inch displays so the switcher operator can comfortably see all inputs. The monitor doesn’t need to be anything fancy; a standard office monitor works fine.
Position the monitor so the switcher operator can see it clearly while also being able to reach the ATEM Mini Pro’s buttons (or a PC running ATEM Software Control). Many setups have the multiview monitor in front of the operator and the ATEM Mini Pro to the side or behind, or they position the multiview monitor in the middle of the control area with the switcher and audio mixer around it.
Configuring Multiview Display
Open ATEM Software Control and look for Multiview settings (usually under Control Panel or Monitoring). You’ll see options for which inputs appear on the multiview display and their layout.
By default, the ATEM Mini Pro shows all six inputs in a grid plus your program feed displayed prominently in the center or a corner. This is the recommended setup for most churches. All cameras are visible simultaneously, and your operator can quickly spot which camera to switch to next.
You can customize the layout if you want—some operators prefer a different arrangement. However, the default layout is optimized for quick visual scanning, so stick with it unless you have a specific reason to change it.
Audio Levels on Multiview
The multiview display includes a stereo audio meter on the side or bottom, showing the combined audio level going to your stream. If you’re streaming to YouTube, this meter reflects what your viewers will hear.
Watch this meter during your service. You’re aiming for consistent levels in the green zone, with occasional peaks into yellow (loud moments like singing) but no sustained red (clipping). If the levels look wrong, you can adjust them in ATEM Software Control’s Audio Mixer while still watching the multiview display, giving you real-time feedback.
Many operators keep an eye on the audio meter throughout the service as a way to monitor whether their mixer operator is maintaining consistent levels. If audio suddenly drops or spikes, the multiview operator can gesture to the mixer operator to adjust.
Program Feed Highlight
The current program feed (what’s live on your stream) is displayed prominently on the multiview, often highlighted with a red border or displayed larger than the other inputs. This is your confirmation that the right camera is actually on the program output.
The preview feed (what you’re cueing up to switch to) is often shown with a blue or yellow border. This lets you confirm you’re about to switch to the right camera before you move the T-bar.
Using Multiview to Improve Switching
With multiview visible, your switcher operator can be much more proactive. They’re not reacting to what’s happening on stage—they’re watching the multiview display to see where speakers are positioned, which camera is framing them best, and making switching decisions ahead of time.
For example, if the pastor is approaching the podium from off-stage, the operator can see on a camera input that he’s coming and cue up the podium camera before he even reaches it. When he arrives, the switch is ready, and the broadcast looks seamless.
This predictive switching is what separates a polished broadcast from one that feels reactive. The multiview gives your operator the information they need to be ahead of the action.
Monitor Size and Viewing Distance
The bigger the monitor, the easier it is to see all six inputs clearly. A 24–27 inch monitor is ideal for a distance of about 2–3 feet. If your switcher operator is farther away, you might want a larger display.
A 21 inch monitor works in a pinch but makes it harder to see small details like whether a camera is focused correctly or if someone has moved out of frame.
Integrating Multiview with ATEM Software Control
Many churches have both multiview and ATEM Software Control displayed—either on separate monitors or on the same PC with multiview running on an external monitor. This gives the switcher operator both visual information (from multiview) and control interface (from ATEM Software Control).
If you’re using physical buttons on the ATEM Mini Pro itself, multiview is often the only display. The operator switches cameras using the physical buttons and watches multiview to verify each switch. This is a common setup for churches where the switcher operator prefers hands-on button control.
Multiview Status Overlays
Beyond the six camera inputs and audio meter, the multiview display can show additional information: current temperature of the device, network connection status, streaming status (showing bitrate and connection quality), and timers for recording or streaming duration.
These overlays are helpful for monitoring whether your stream is healthy. If the bitrate indicator shows a sudden drop, you know there’s a network issue. If the temperature indicator goes red, you know the device is overheating and needs better ventilation.
Troubleshooting Multiview Display Issues
If your multiview monitor is showing a blank screen, first check that the HDMI cable is connected and the monitor is powered on. Then verify in ATEM Software Control that multiview output is enabled. Some models require you to explicitly activate the multiview HDMI output before it sends video.
If the display looks compressed or distorted, check the monitor’s aspect ratio setting. Make sure it’s set to 16:9 (not 4:3) so the video fills the screen correctly.
If you’re seeing only part of the camera grid (like only three cameras instead of six), check your ATEM Software Control version. Older versions had different multiview layouts. Update ATEM Software Control if an update is available.
Creating a Second Multiview for Streaming
Some advanced setups send the multiview to a second HDMI output so it also appears on the livestream. This is useful if you want viewers to see all six cameras at once. However, most churches keep multiview as an internal monitoring tool only, not part of the public stream. The program feed (single camera or keyed graphic) is what the congregation sees on YouTube.
To do this, you’d configure ATEM Software Control to output multiview to a specific HDMI port and then route that HDMI into OBS or your streaming encoder. This is beyond the scope of basic setup but is worth knowing for future expansion.
Your Production Workflow with Multiview
On Sunday morning, power up the ATEM Mini Pro and the multiview monitor. Verify that all cameras are showing video in the multiview grid. Have your camera operators position their cameras and frame their shots. Your multiview operator can confirm that every camera is in the right position before the service starts.
As the service begins, your switcher operator watches the multiview display, anticipates what comes next based on the service flow, and switches smoothly between cameras. With multiview visible, the operator is proactive rather than reactive, and your broadcast feels polished and intentional.
The multiview monitor is one of the most underrated tools in a church AV setup. It transforms your operator from someone who reacts to events into someone who shapes the visual story of your service. Once you’ve experienced the difference a multiview display makes, you won’t want to produce without one.