
The ATEM Mini Pro ISO is the professional grade of the Mini line. While the standard ATEM Mini Pro records the program output (the single switched feed), the ISO version records every input independently—all four camera inputs plus the program mix, all simultaneously, to separate files. This “ISO” recording (short for isolated) gives you the freedom to re-edit your service after the fact, choosing different camera angles and timing than you made during the live broadcast.
For churches that want professional-grade post-production capability—re-editing sermons, creating highlight reels, or capturing multiple perspectives for archival—the ATEM Mini Pro ISO is a game-changer.
Physical Setup and Hardware

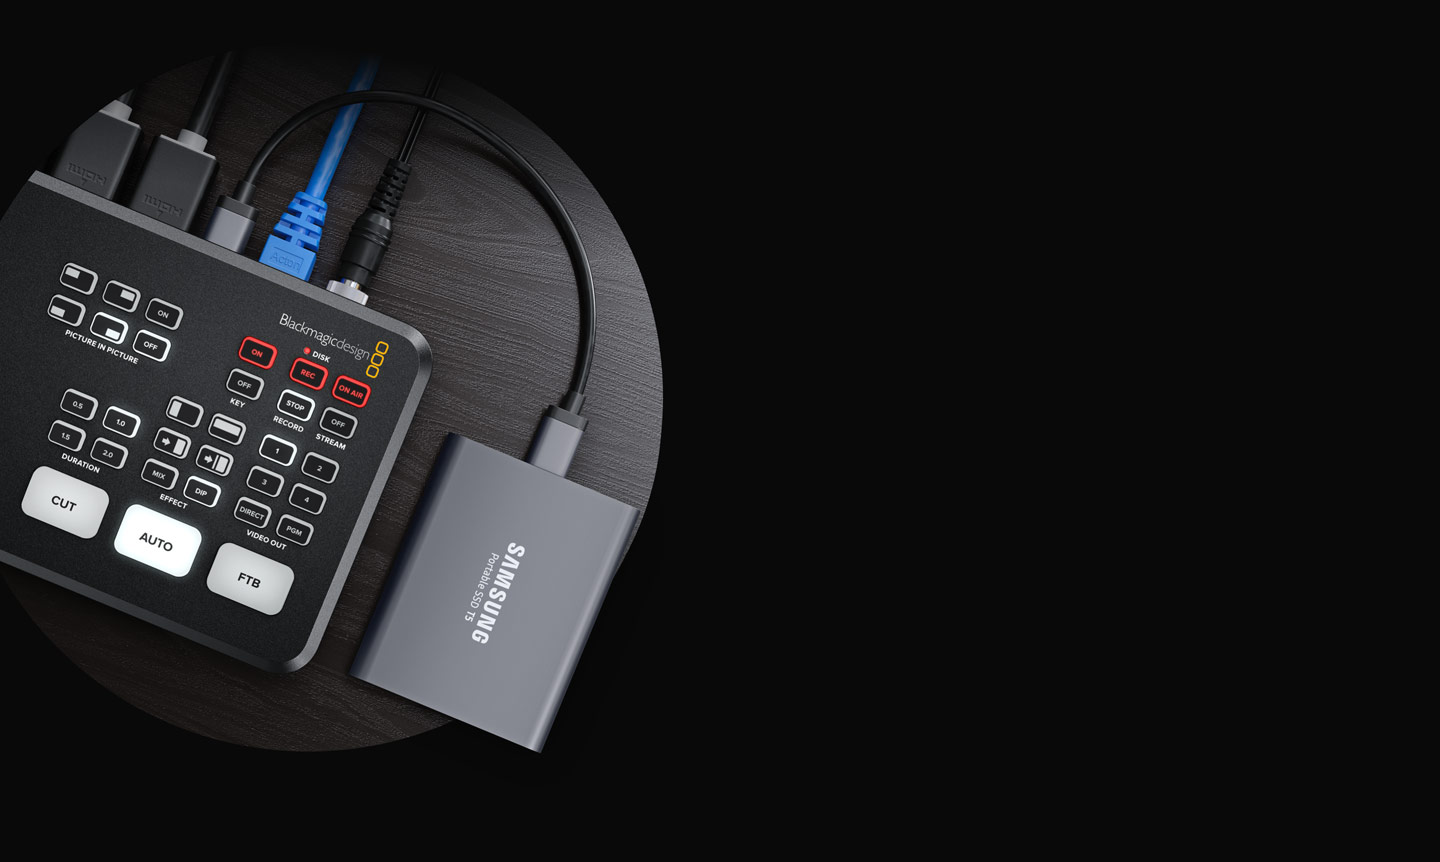
The ATEM Mini Pro ISO is identical in size to the standard ATEM Mini Pro, so physical setup is the same. Connect your cameras to the four HDMI inputs, power on the device, and connect Ethernet to your network. The key difference lies in storage: you’ll need fast USB 3.0 external storage to handle ISO recording.
For ISO recording, a USB 3.0 SSD in an external enclosure is essential. A fast USB 3.0 flash drive might work in a pinch, but SSDs are more reliable for sustained multi-track recording. You’re writing five video streams simultaneously, which demands consistent write speeds of 50+ Mbps per stream.
For one hour of 1080p30 recording, plan for about 13.5 GB per camera input. With four cameras plus a program feed, that’s roughly 68 GB per hour. A 256 GB SSD gives you about three and a half hours of ISO recording before you need to swap drives.
Format your SSD to exFAT before first use, just as you would with the standard ATEM Mini Pro.
Understanding ISO Recording
ISO recording is different from the standard program recording. Instead of recording the switched output (camera 1, then camera 2, then camera 1 again as you switch), ISO recording captures every input continuously in its own file. When you switch cameras during the broadcast, the ISO feed keeps rolling on all cameras, unaware of your switching moves.
The advantage: later, in post-production, you can choose which camera to show at any moment. If you switched to camera 2 during the pastor’s punchline but camera 1 had a better angle, you can re-edit to use camera 1 for that moment. You’re not locked into the switching decisions you made live.
The disadvantage: ISO recording requires more storage space and more powerful computers to edit later. You’re working with five simultaneous video streams in your editing software, which is processor-intensive.
Configuring ISO Recording
Open ATEM Software Control and navigate to Recording settings. You’ll see options for ISO recording. Enable ISO recording and select your external SSD as the destination. Configure the resolution (typically matching your program output—1080p30) and whether you want to record audio separately or embedded in each video file.
Most churches record audio separately (into a single stereo audio file) rather than embedding it into each video. This makes post-production easier—you sync once to the audio file rather than syncing each camera individually.
Test your recording setup before your first service. Start the ATEM Mini Pro and ATEM Software Control, start ISO recording, and let it run for a few minutes while you switch between cameras. Stop recording and verify that you have files on your external SSD. You should see five files (four cameras plus a program feed) all with matching timestamps and similar file sizes.
USB Drive Speed and Thermal Management
ISO recording puts sustained stress on your external SSD. Monitor the drive’s temperature, especially if you’re recording multiple services back-to-back. Most SSDs throttle performance if they get too hot, which could cause dropped frames in your recording.
Position the external SSD in a location with good airflow. Don’t stack other equipment on top of it. If you’re recording long services, consider adding a small USB fan to blow air across the SSD enclosure.
Also check your USB cable. Use a good-quality, shielded USB 3.0 cable no longer than 6 feet if possible. Long cables or cheap cables can degrade signal quality and cause write errors.
Managing Drive Storage
One hour of ISO recording uses about 68 GB. If you’re streaming live to YouTube while also recording ISO, your external SSD must be able to handle it. Most modern SSDs can sustain the required write speed, but test yours before relying on it.
Create a workflow for managing drives. After each service, label your SSD with the date and service name. When it’s full, swap it out for a fresh drive. Transfer the full drive’s contents to a larger archive drive or networked storage later. This ensures you always have a clean drive ready for next Sunday.
Many churches keep two or three external SSDs in rotation, so they always have a backup drive available while one is being transferred to archive storage.
Direct Streaming While Recording ISO
The ATEM Mini Pro ISO can simultaneously stream directly to YouTube and record ISO to your external SSD. This is the ideal setup: your congregation gets a live broadcast on YouTube with professional switching, while you capture all raw camera feeds for post-production.
Configure both streaming (YouTube credentials and bitrate) and ISO recording (SSD destination and audio settings) in ATEM Software Control. Start both before your service begins. Both will run in parallel—YouTube gets your live-switched feed, and your SSD gets all the ISO files.
This redundancy is powerful. If you want to re-edit a moment from the service, you have the ISO files. If a moment goes viral and gets lots of engagement on YouTube, you know exactly when it happened (it’s in your YouTube recording). And you have a YouTube archive for people who want to watch immediately, plus raw material for post-production work.
Setting Up Your Post-Production Workflow
Once your service is recorded in ISO, you’ll eventually want to edit it. Open DaVinci Resolve (free video editing software from Blackmagic Design) and create a new project. Import all your ISO camera files and your audio file.
Sync each camera to the audio so they’re time-aligned. Then lay down your program cut as the primary timeline—the same cutting you did live. Add the other camera feeds above it, and wherever you want to change the camera view, pull in that camera angle from above.
This gives you the option to re-cut the entire service, choosing the best camera angle for every moment. It’s more work than streaming live, but the final product can be much more polished.
File Organization and Archival
Name your ISO files descriptively: “2024-03-10_Sunday_Service” or “2024-03-10_Sermon”. Include the date in the filename so when you’re searching months later, you can find the right service quickly.
Organize your archive drives into folders by year and month. For example: “2024/March/2024-03-10_Sunday_Service/”. Within each service folder, store your camera files, audio file, and a text file documenting any notes (camera issues, audio problems, anything relevant for post-production).
Back up your archive drives. ISO recordings represent a lot of data and work. Losing them to a drive failure would be frustrating. Keep at least one complete backup copy on a separate physical drive stored off-site if possible.
Comparing ISO to Standard Recording
The ATEM Mini Pro records the program output (one switched feed). The ATEM Mini Pro ISO records every input separately. Choose the ISO model if you plan to do serious post-production work. Choose the standard model if you’re just looking for an archive copy of the live broadcast and don’t need the ability to re-edit.
Most churches find that they don’t actually re-edit services—they stream once, and the YouTube recording is sufficient. If that’s you, the standard Mini Pro is the better value. But if you’re confident you’ll use the raw ISO feeds for future highlights reels, sermon archives, or professional editing, the ISO model is worth the investment.
Your Service with ISO Recording
On Sunday morning, start the ATEM Mini Pro and verify Ethernet connection. Open ATEM Software Control. Verify your external SSD is connected and recognized. Click Start ISO Recording. About five minutes before service, click Start Stream (to YouTube). Switch cameras as normal during the service, delivering your best live broadcast. When the service ends, click Stop Stream, then stop ISO Recording. Let the SSD finalize all files.
After service, transfer your ISO files to archive storage. You now have a YouTube archive (for immediate viewing) and ISO files (for future post-production). You’re capturing your ministry in the highest fidelity, giving yourself and your church the most options for how to use these recordings in the future.
The ATEM Mini Pro ISO is the professional-grade choice. It requires more infrastructure, more storage management, and more post-production work. But it gives you capabilities that justify the price: full creative control over your broadcast, the ability to re-edit and improve, and raw material for all sorts of content creation.