
Running ISO recording during your Sunday services is straightforward technically but requires discipline in workflow and storage management. You’re capturing massive amounts of data—roughly 68 GB per service hour—and you need a system for managing, archiving, and accessing that data.
This guide focuses on the practical side of running ISO recording sustainably over months and years.
Pre-Service Checklist

Before your first ISO recording service, make a checklist to follow every Sunday. The checklist ensures you don’t accidentally start a service without recording or forget to stop recording at the end.
Your checklist should include: Verify external SSD is connected and recognized by ATEM Mini Pro ISO. Check remaining free space on SSD (you need at least 90 GB for a one-hour service plus buffer). Verify ATEM Software Control can see the SSD and ISO recording is enabled. Test ISO recording by starting and stopping a 30-second test to confirm all files are created. Clear the test files from the SSD. Verify your streaming configuration (YouTube credentials, bitrate, resolution).
Run this checklist 20–30 minutes before service starts. This ensures everything is working before you need it live.
During Service
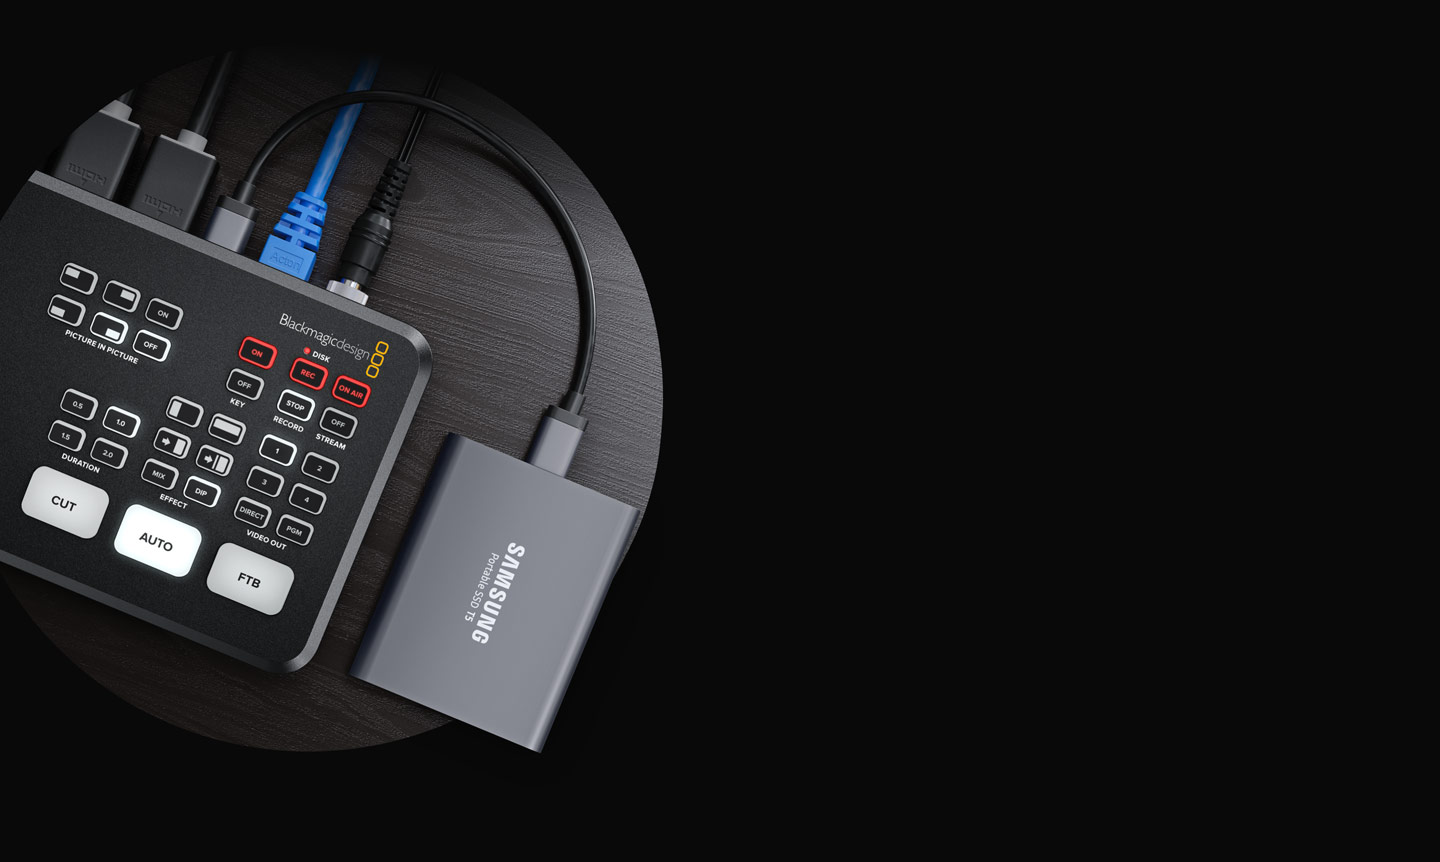
Start ISO recording about 5 minutes before your service begins. Many churches start recording before anyone is on stage, so they capture the opening moments even if timing is tight.
Also start your YouTube stream at the same time. Both should be running in parallel: YouTube gets your live-switched feed, and the SSD gets your ISO files.
Monitor your SSD space and recording status throughout the service. ATEM Software Control shows you remaining space and whether recording is active. If for some reason recording stops (maybe the SSD disconnected), you want to know immediately so you can troubleshoot rather than discovering after service that you missed the whole thing.
Most experienced operators glance at their ATEM Software Control multiview every 10–15 minutes just to verify everything is still recording and streaming. It takes 5 seconds and prevents disaster.
Stopping Recording and File Finalization
After your service ends, stop YouTube streaming first (or simultaneously with ISO recording—it doesn’t matter which you stop first). Then stop ISO recording.
The ATEM Mini Pro ISO needs a moment to finalize all five video files and write them to the SSD. This usually takes 30 seconds to a few minutes depending on the file sizes. Wait until the recording indicator shows “Stopped” or “Idle” before unplugging the SSD. If you unplug while finalization is in progress, you risk corrupting files.
Verify that all five files exist and have reasonable sizes. You should see four camera files and one program feed file, all with the same timestamp and roughly equal file sizes (within a few percent). If one file is significantly smaller than the others, that camera might have had a signal drop or recording issue.
Transferring Files to Archive
After confirming all files are present and good, transfer the entire ISO recording folder to your archive storage. This keeps your external SSD clean and ready for next Sunday.
Use a fast external drive (USB 3.0 or Thunderbolt) for this transfer. A 68 GB transfer at 200 MB/s takes about 6 minutes. If you’re copying to a network drive, it might take 20–30 minutes. Plan accordingly so you have time to transfer before the next service.
Create a folder structure on your archive drives: Year → Month → Date_ServiceName. For example: “2024/March/2024-03-10_Sunday_Service/”. Within each service folder, store all five ISO files and a text file documenting any notes (technical issues, unusual moments, etc.).
Managing Multiple External SSDs
Most churches keep two or three external SSDs in rotation. One is always in use in the ATEM Mini Pro, one is being transferred to archive, and one is being backed up or repurposed.
Label each SSD clearly with a name: “ATEM_Recording_1”, “ATEM_Recording_2”, etc. This prevents confusion and helps you keep track of which drive went where.
Rotate the drives in a predictable order. If you have drives 1, 2, and 3, use them in sequence: drive 1 on Sunday, drive 2 the following Sunday, drive 3 the Sunday after that, then back to drive 1. This ensures you’re not overusing one drive while another sits idle.
Storage Capacity Planning
Calculate your storage needs. If you’re recording every Sunday and your services are typically one hour, plan for about 68 GB per week, or roughly 270 GB per month. Over a year, that’s about 3.5 TB of ISO recording.
A 4 TB external SSD costs $300–500. Many churches budget one external SSD purchase per year for ISO recording. When a drive is full, retire it to archive storage and buy a new one.
For long-term archival, consider even larger drives (8 TB or more). Store these in a cool, dry location away from direct sunlight. Hard drives last longer when kept cool and stable.
Backup Strategy for Archive Drives
All your archive drives containing ISO recordings are valuable. A single drive failure loses weeks or months of recordings. Implement a backup strategy: keep at least one copy of every service on two separate physical drives.
For example, after recording a Sunday service, transfer the ISO files to Archive Drive 1. At the end of the month, copy that month’s folders from Archive Drive 1 to Archive Drive 2. This gives you redundancy without requiring real-time duplication.
Store one backup drive off-site (at a team member’s house, a bank safe deposit box, or cloud storage) in case of disaster.
Accessing Your Archive
Create a spreadsheet documenting your ISO recordings: date, service name, file location, and whether the recording was re-edited for YouTube. This becomes invaluable six months later when someone asks, “Can you find that sermon from last June about faith?”
Update this spreadsheet after every service. It takes 30 seconds and saves hours of searching later.
Some churches use a media asset management system like Shotcut or even a Google Drive folder with organized naming to catalog their recordings. The tool matters less than having some system—random drives with random folder names become impossible to navigate over time.
When to Re-Edit and When to Archive
Not every service gets re-edited. Most churches re-edit occasionally for special moments or sermon series they want to promote. Routine Sunday services are archived in ISO format but not re-edited.
Develop criteria for when you’ll invest the time in re-editing. Maybe you re-edit sermons from your pastor’s top sermon series, or special guest speakers, or Mother’s Day and Christmas services. This gives you a full calendar of polished content without overwhelming your editing team.
For services you don’t re-edit, the ISO files still exist as backup. If your YouTube recording is ever lost or corrupted, or if someone asks for the ISO years later, you have the raw material.
Verifying Recording Integrity
Periodically (maybe once a quarter), pull an archived ISO file back to your editing PC and verify it plays correctly. Open it in DaVinci Resolve or your video player, scrub through, and confirm the video and audio are intact. This catches corruption issues before you accidentally delete a drive containing the only copy of something important.
Scaling ISO Recording as Your Ministry Grows
If your church eventually wants to do more with ISO recordings—perhaps running multiple services, recording events outside of Sunday, or dedicating a team to re-editing—the workflow scales. You’ll need more SSD storage, more archive drives, and more post-production time, but the technical process remains the same.
Some larger churches eventually move to professional storage solutions (NAS drives, cloud storage) and hire dedicated video editors. But most churches stay with the DIY approach of external SSDs and volunteer editors, and it works perfectly well.
Your Weekly Routine with ISO Recording
Sunday: Run your pre-service checklist, start ISO recording and YouTube streaming, monitor during service, stop recording and streaming after service. Wait for files to finalize. Transfer ISO files to archive. Update your spreadsheet.
By Friday the following week: Back up that week’s recordings to a second drive or cloud storage.
This rhythm becomes routine quickly. After a few months, ISO recording and archival are as natural as pushing start on your mixing board.
The data you’re capturing is valuable. Sermons are your church’s teaching history. Worship moments and congregational events are part of your ministry story. By committing to ISO recording and proper archival, you’re creating a legacy that serves your church for years to come.