
ISO recordings give you the raw material to re-edit your service after the fact. DaVinci Resolve, Blackmagic Design’s professional video editing software (available in a free version), is the natural choice for working with your ISO files. This guide walks through the process of importing multi-camera recordings, syncing them to your audio, and re-editing to create a polished final product.
The workflow described here is what professional broadcast teams do every day—you’re now doing it for your church.
Understanding the Workflow

You’ve recorded five simultaneous video streams: four cameras plus the program feed. You also have a separate stereo audio file. Your goal is to create a single edited timeline that uses the best camera angle at each moment, with perfectly synced audio.
The process: import all media into DaVinci, sync the camera files to audio, create a primary timeline with your program cut as the foundation, then add the other camera files above it. Whenever you want to change the camera angle, you cut to a different camera and trim the timing as needed.
This is much more flexible than the live switching you did during the service. You’re not locked into the decisions you made in real time.
Preparing Your Media Files
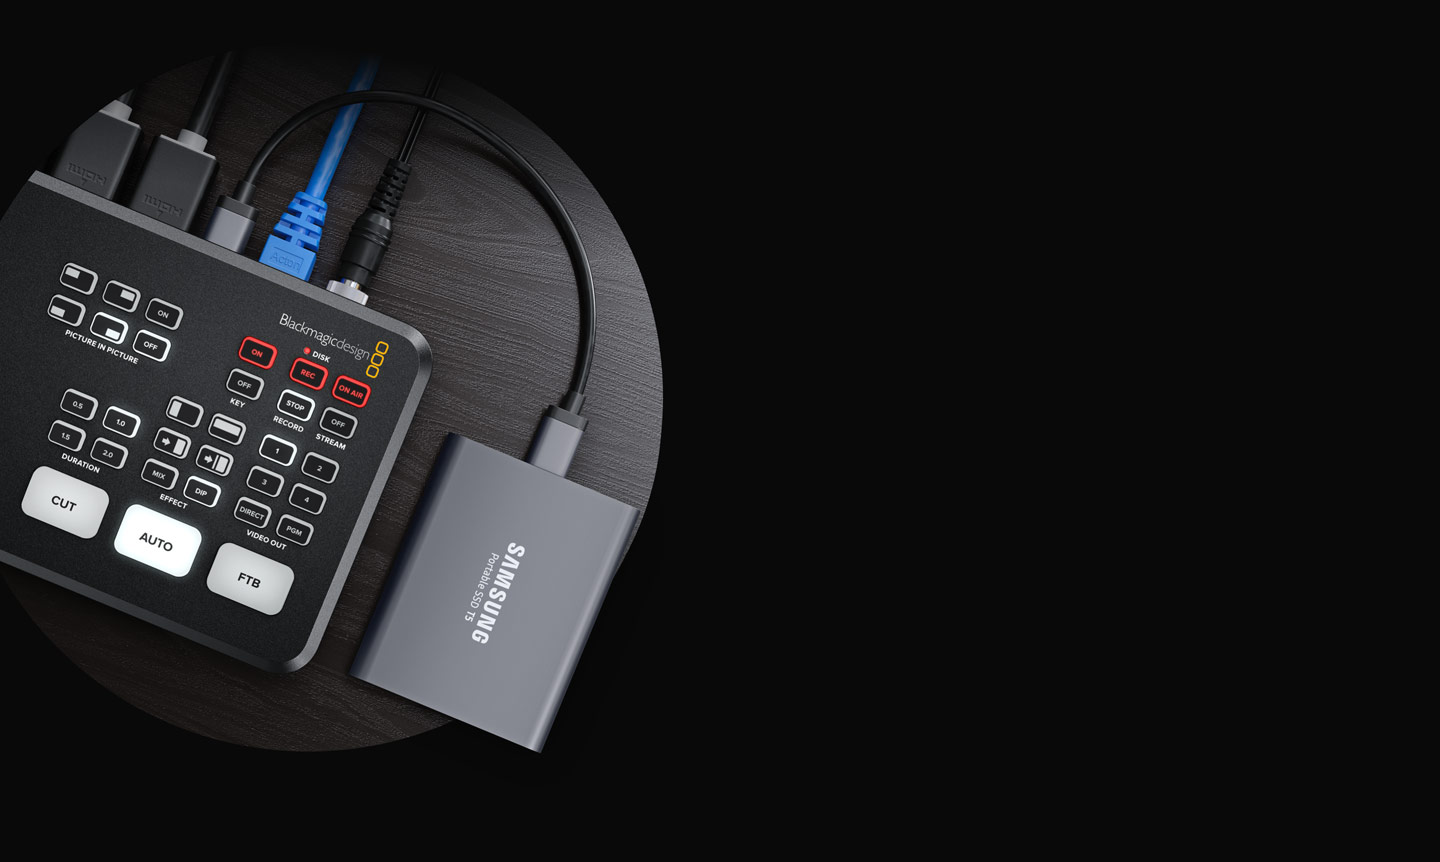
Transfer your ISO recordings from your external SSD to your computer’s local drive. ISO files are large, so give yourself enough storage space. Work from local drives rather than network drives for faster performance during editing.
Organize your files into a project folder. For example: “2024-03-10_Sermon_Edit” containing subfolders: “Media” (your original ISO and audio files), “Project” (your DaVinci project file), and “Exports” (your final edited version).
You should have five video files (Camera 1, Camera 2, Camera 3, Camera 4, and Program Feed) all with the same start time and duration. Verify that all files are present and that their file sizes are roughly similar, indicating they all recorded successfully.
Creating a DaVinci Resolve Project
Open DaVinci Resolve and create a new project. Set the project resolution to match your source media (1080p, 30 fps, or whatever your ISO recordings were shot at).
Import your media files into DaVinci’s media pool. Drag all your camera files and your audio file into the pool. Organize them into bins (folders) for clarity: one bin for camera files, one for audio.
Create a new timeline and set it to the same resolution and frame rate as your media.
Creating a Multicam Clip
DaVinci’s multicam feature lets you work with multiple camera angles as if they were a single clip. Select all four camera files in the media pool, right-click, and choose “Create Multicam Clip.” DaVinci will create a new multicam clip that you can drop onto your timeline.
The multicam clip shows all four cameras side by side in a grid. Click on any camera to select it. Whatever camera you click becomes the active view. This is similar to switching live, but you can change your mind later and re-edit.
Syncing to Audio
Place your multicam clip on the timeline. Place your audio file on a separate audio track below the video. Now you need to sync the video and audio.
DaVinci has an auto-sync feature. Select both the video and audio, go to the Edit menu, and choose “Synchronize Clips.” DaVinci will analyze both and align them automatically. In most cases, this works perfectly.
If auto-sync doesn’t work or if your audio file started at a different time than your video files, you can sync manually. Scrub through your timeline until you see the pastor’s mouth moving, find the corresponding moment in the audio waveform, and drag the audio clip to align. It’s a bit of manual work but usually only takes a minute or two.
Re-Cutting Your Broadcast
Now you have your synced multicam and audio on the timeline. Make a copy of the program feed (your live-switched recording) and place it on the top video track. This is your reference—it shows what you switched to during the live broadcast.
Play through the program feed and watch it alongside your multicam. Wherever you want to choose a different camera angle than what the live feed shows, use the multicam to switch to that camera and make a cut.
For example, if your pastor made a powerful point at 18:42 in the program feed, you switched to camera 1 (a wide shot). But on the multicam, you can see that camera 3 (a tight close-up of the pastor’s face) was better framed and more engaging. Splice in camera 3 at that moment instead.
This process of re-editing is where the real value of ISO recording shows up. You’re not committed to the switching decisions you made live. You’re choosing the best camera angle for every moment, which usually results in a more engaging final product.
Trimming and Fine-Tuning
As you re-edit, you’ll trim clips to adjust their duration. If you cut to a new camera at exactly the moment the audio changes topics, that’s perfect. But if there’s a half-second gap or overlap, trim the previous clip to end at exactly the right moment, and trim the next clip to start right where the previous one ended.
DaVinci’s timeline editing tools make this straightforward. Use the trim tool (keyboard shortcut: T on most systems) to adjust clip boundaries. Scrub through frame-by-frame when you need precision.
Color Correction and Consistency
If your four cameras recorded with slightly different colors (one warmer, one cooler), you might notice the color shifts as you cut between cameras. DaVinci’s color correction tools let you adjust each camera to match.
Go to the Color page, select your first camera clip, and adjust its color. Then select the next camera and color-correct it to match. This is tedious but results in a final product that doesn’t look like it was shot with six different cameras.
For most churches, basic color matching is sufficient. You don’t need to match perfectly—minor color variations are acceptable. But if one camera is dramatically different, color correction is worth the effort.
Adding Titles and Graphics
Once your picture cut is done, add titles if needed. You might add the sermon series title at the start, the pastor’s name and title, or Scripture references throughout the sermon.
Use DaVinci’s Fusion page (or OBS if you prefer) to add graphics on top of your video. This is optional but adds polish. Keep titles simple and readable—your viewers are watching on phones and small screens, so large, clear text is essential.
Exporting Your Final Version
Once you’re happy with your re-edited cut, export it to a broadcast-quality file. Go to the Deliver page, choose your codec (ProRes is a good choice for high-quality YouTube uploads), set your resolution to 1080p, and click Render.
DaVinci will encode your edited timeline into a single video file with embedded audio. This is your finished product—the re-edited sermon that’s ready for YouTube or your church’s library.
File sizes will be large (a one-hour sermon might be 10–15 GB in ProRes). Once you’ve verified that the export looks good, you can upload it to YouTube or archive it, then delete the original export file if storage space is tight.
From Re-Edited File to YouTube
If you want to upload your re-edited sermon to YouTube, use YouTube Studio to upload the new file. You can either replace your original live-broadcast recording or upload it as a new video. Most churches upload it as a new video and link to it from your church website or sermon archive.
Mark the new video as unlisted if it’s private, or public if you want it discoverable. Many churches keep their edited sermon version private and only link to it from their sermon archive, so the YouTube algorithm doesn’t compete with the live version.
Turnaround Time and Workflow Efficiency
Re-editing a one-hour sermon in DaVinci takes time. Expect 2–4 hours of editing work for experienced editors, longer for volunteers learning the software. This is why many churches don’t re-edit every service—it’s a lot of work.
But for special sermons, sermon series you want to promote, or moments you know will be referenced repeatedly, re-editing is worth it. The final product looks more professional than the live cut, and viewers engage more with polished, multi-camera edited content.
Building a Team
If you want to do this regularly, build an editing team. Assign one person to learn DaVinci thoroughly. Let them re-edit a few sermons until they’re comfortable, then consider training a second person as backup. Having two trained editors means you can re-edit more frequently without overwhelming anyone.
Archival and Library Building
Once you’ve re-edited sermons, archive them. Create a folder structure: by year, then by sermon series, then by date. Keep your project files (.drp files) alongside your final exports so if you ever need to re-render or adjust something, you have the original project.
Over time, you’ll build a library of polished sermon videos. This becomes a powerful resource for your church—people can go back and watch your pastor’s best sermons, find teachings on specific topics, and share sermons with friends.
The work of re-editing pays dividends for years. Your investment in ISO recording and thoughtful post-production creates a legacy of your church’s teaching that extends far beyond the initial Sunday service.
ISO recording and DaVinci re-editing are the tools of professional broadcast. By mastering this workflow, you’re operating at a level that rivals traditional television production. Your congregation—both those in the room and those watching online—benefits from the intentionality and care you’re pouring into the broadcast presentation of your church’s ministry.