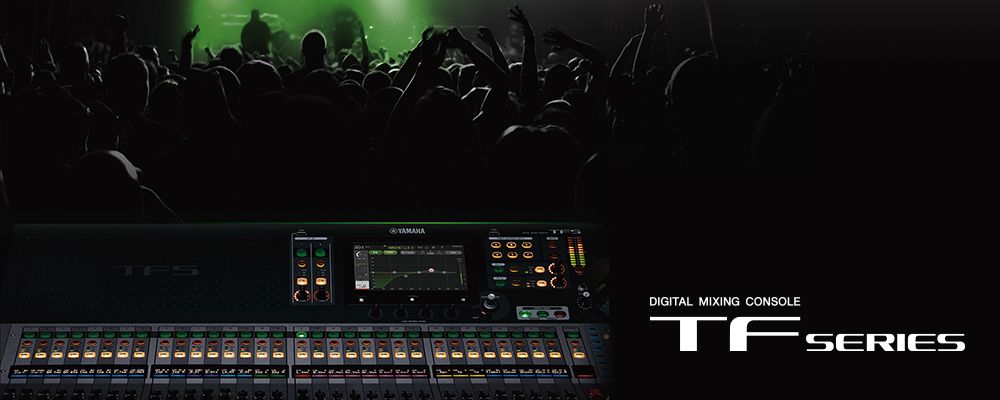
The Yamaha TF3’s expanded auxiliary bus infrastructure enables sophisticated broadcasting workflows where your streaming mix is completely independent from your front-of-house mix. This separation allows you to optimize each mix for its specific purpose: FOH optimizes for the live room’s acoustics, while your streaming mix optimizes for online viewers wearing headphones. The result is professional-grade audio reaching both in-person and online audiences simultaneously.
Creating a Dedicated Streaming Mix Bus
Rather than sending your main mix to streaming platforms, create an entirely separate auxiliary bus optimized specifically for broadcast. Designate one of your TF3’s auxiliary buses—perhaps AUX5—as your streaming mix. This bus will feed your streaming computer via USB while your main mix continues serving your sanctuary speakers and monitors.
Configure this bus carefully. Your streaming mix should include fewer elements than your main mix or include them at different levels. For instance, your streaming mix might emphasize lead vocals and sermon audio while minimizing instrumental flourishes that work in the live room but distract online viewers.
Independent Processing Strategy
Each auxiliary bus on the TF3 can have its own processing chain. On your AUX5 streaming bus, apply processing optimized for broadcast rather than live playback. More aggressive compression on the streaming bus smooths dynamic range, ensuring that quiet moments don’t disappear and loud moments don’t spike.
Apply gentle parametric EQ optimized for consumer headphones rather than sound system speakers. A slight emphasis in the 2-4 kHz range can improve vocal intelligibility for headphone listeners. A gentle reduction below 100 Hz prevents excessive low-end buildup that headphone users find uncomfortable.
This processing-heavy approach to streaming audio might sound odd if you heard it in isolation, but over the internet through consumer devices, it delivers remarkably professional results.
Routing Strategy for Multiple Simultaneous Mixes
Here’s how your TF3 now manages multiple independent mixing scenarios simultaneously: Your main mix (MIX1) feeds your sanctuary speakers. Your auxiliary buses provide different mixes: AUX1-2 feed stage monitors, AUX5 feeds your streaming computer.
Each mix operates independently. Your FOH operator adjusts the main mix. Your monitor operator (if you have one) adjusts monitor mixes. Your streaming is handled by whatever goes to AUX5. These three completely independent mixing responsibilities don’t interfere with each other.
This is the power of the TF3’s architecture. Where a smaller console might force compromises, the TF3 provides enough channels and buses to handle complex, sophisticated mixing scenarios that serve different audiences with different requirements.
Configuring USB Output to AUX5
Connect a USB cable from the TF3 to your streaming computer. Navigate to the TF3’s System Settings and configure USB audio output. Specify that you want AUX5 routed to USB instead of your main mix.
This configuration sends only your streaming mix to the computer via USB. Your main mix continues feeding your sanctuary speakers completely independently. Any adjustments to the main mix don’t affect streaming, and vice versa. Your streaming operator has complete autonomy over streaming audio levels.
Setting Streaming Audio Levels
Monitor your streaming computer’s audio input level to ensure your TF3’s AUX5 is feeding at appropriate level. In OBS or vMix, check your audio input meters and adjust the TF3’s AUX5 fader until your streaming software shows average levels around -18 dB with peaks at -12 dB.
This level provides headroom and protects against unexpected peaks causing distortion. If streaming audio seems quiet, boost it on the TF3’s AUX5 fader rather than in software. Handling levels at the source rather than in software produces cleaner results.
Handling Different Service Content
Your streaming mix might change character depending on service content. During sermon portions, vocals become paramount, so you might raise the lead microphone and sermon audio levels in your streaming mix while reducing music. During worship songs, you might rebalance to emphasize all musical elements equally.
Save these different streaming configurations as separate scenes. “Sermon Streaming Mix” and “Worship Streaming Mix” capture different configurations optimized for the specific content. During services, recall the appropriate streaming scene alongside your main mix scene.
Protecting Against Streaming Audio Failures
Unlike your main mix, where mistakes mean the congregation hears them directly, streaming mistakes affect your online audience but don’t interrupt in-person worship. However, you still want to minimize streaming failures.
Ensure your USB cable is in good condition and properly seated. Keep spare USB cables on hand. Monitor your streaming computer’s CPU usage during services—if CPU is exhausted, audio dropout can occur. Close unnecessary applications on your streaming computer to free up resources.
Adding Dynamics Processing to Streaming Bus
Consider adding a compressor to your AUX5 streaming bus to further smooth its dynamics. A gentle compressor with 4:1 ratio and moderate threshold (~-20 dB) can reduce the dynamic range further without making the audio sound obviously compressed.
A limiter set to prevent any peaks above -1 dB adds a safety net against unexpected loud moments clipping your stream. These safety layers ensure professional-quality audio even if your source material has dramatic dynamic variations.
Managing Streaming Transitions
When you transition from one service segment to another, you might change your main mix scene, your monitor scene, and your streaming scene. All three happen independently. You can recall your “Sermon Streaming Scene” while your main mix operator recalls their “Sermon Main Mix Scene.”
Coordinate timing so that streaming transitions happen cleanly. During live transitions where there’s music or vocal continuity, sync these scene changes so they happen within a fraction of a second of each other. This ensures your online and in-person audiences experience coherent transitions.
Recording Streaming Audio for Archive
Some churches want to record their streams for archive purposes or podcast production. Your streaming computer running OBS or vMix can simultaneously broadcast and record. The audio flowing to your streaming platform gets recorded locally as well, creating archive files.
These recorded files become valuable assets. You can edit them for podcast production, create highlight clips for social media, or maintain them as ministry archives that members can access later.
Multi-Platform Streaming
Your streaming computer can send audio to multiple platforms simultaneously—YouTube, Facebook, your website, and perhaps Livestream.com. The TF3 provides clean audio to your computer; your streaming software handles multiplatform delivery. This unified approach means one quality audio stream reaches all your online platforms.
Troubleshooting Streaming Audio Quality Issues
If your streaming audio sounds distorted or over-compressed, adjust your AUX5 levels on the TF3. The processing chain you’ve applied might be too aggressive. Back off compression ratios or threshold settings until audio sounds natural while remaining consistent.
If streaming audio periodically drops, check your USB cable connection. Reseat the cable on both ends to ensure solid connection. If problems persist, try a different USB cable—worn cables are a common cause of intermittent connection issues.
Your Yamaha TF3 now provides sophisticated streaming capability with independent optimization for online audiences while maintaining professional audio for your in-person congregation. This multi-audience approach demonstrates your church’s commitment to reaching people wherever they are, whether physically present or joining remotely.