
Audio Follow Video (AFV) is a Roland V-1HD feature that automatically switches your audio input when you switch cameras. When you press the button to switch to camera 2, the audio switches to camera 2’s audio input simultaneously. This is useful if each of your cameras has its own microphone, or if you’re using channel-specific audio sources.
This guide covers setting up and using AFV effectively in a church environment.
Understanding AFV
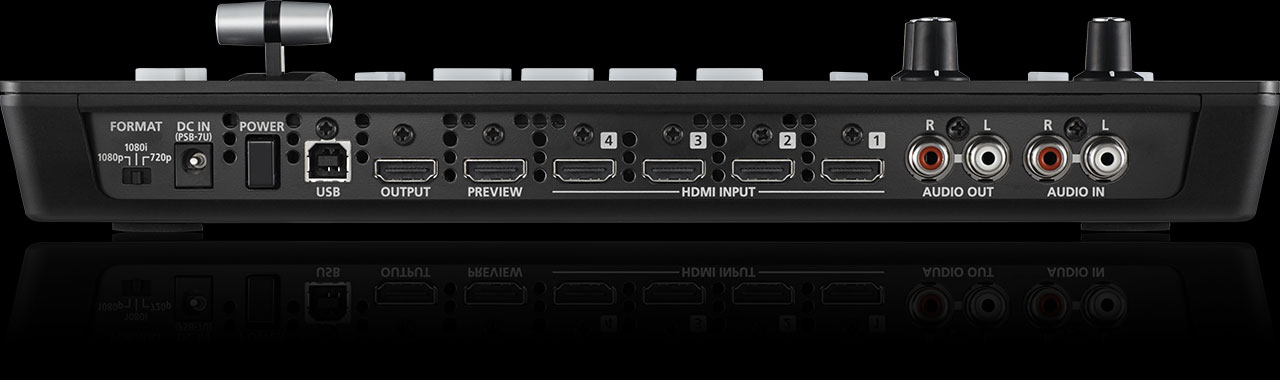
AFV ties audio and video switching together. Without AFV, switching the video feed doesn’t change what audio is active—you control audio independently, usually with a mixer.
With AFV enabled, each camera input can be assigned an audio source. When you switch to that camera, its assigned audio becomes active.
For most churches running traditional audio mixing through a dedicated mixer, AFV is disabled because audio comes from one mixed source, not from individual cameras. But for some setups, AFV is valuable.
When to Use AFV
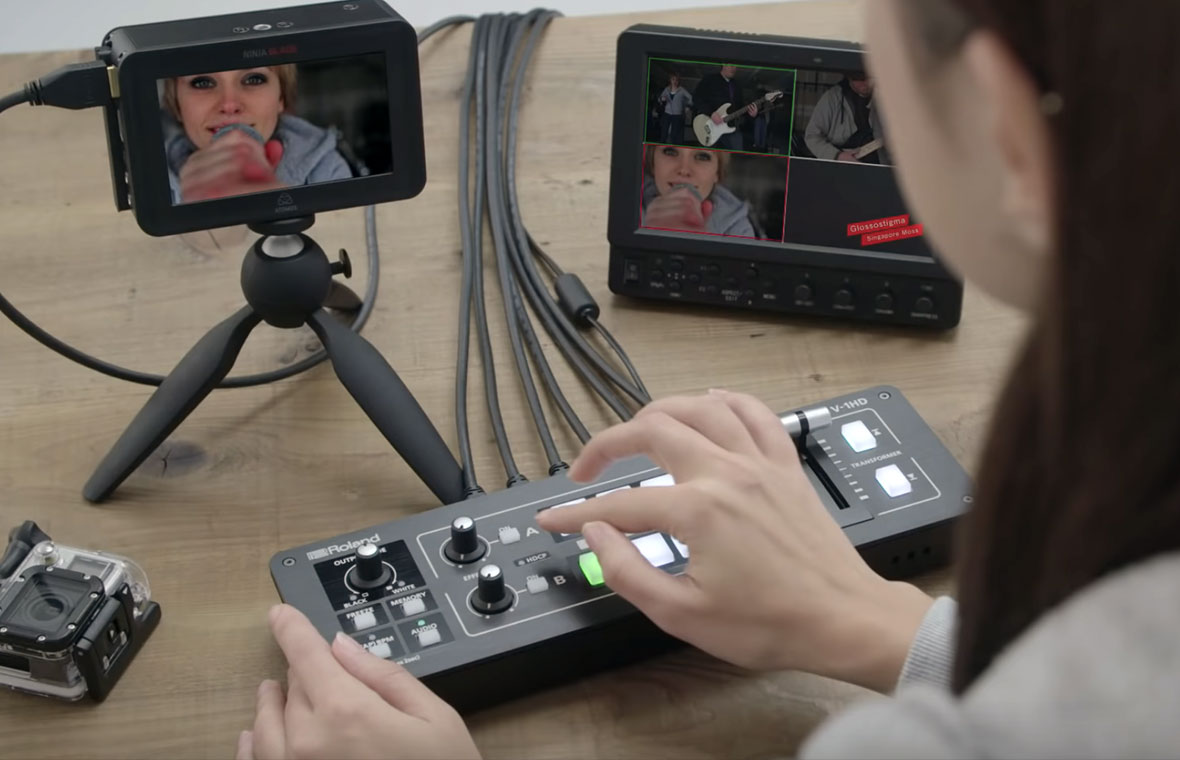
Use AFV if: each of your cameras has a wireless microphone, and you want that camera’s audio to come live when you switch to that camera. Each video input has a dedicated audio source that needs to match the video. You want to automate the coordination between camera switching and audio level changes.
Avoid AFV if: you’re using a mixer to handle all audio mixing, your audio comes from a single master mixer output, or you need fine-grained audio control that AFV doesn’t provide.
Configuring AFV
Press the Menu button on the Roland V-1HD to access settings. Navigate to Audio settings. Find the Audio Follow Video or AFV option and enable it.
When AFV is enabled, each input can be assigned an audio source. By default, input 1 follows audio input 1, input 2 follows audio input 2, etc.
If your audio arrangement is different (for example, both camera 1 and camera 2 should use audio input 1, while camera 3 should use audio input 2), you can customize the assignments in the menu.
Setting Audio Levels with AFV
With AFV enabled, each audio input needs to be pre-set to the correct level before you switch to that camera. Because switching cameras also switches audio, you don’t have time to adjust the level after switching.
Before your service, test each camera switch and verify that the audio level is correct. If camera 2’s audio is too quiet, adjust the level for audio input 2 before service starts.
This requires discipline and planning. You need to know ahead of time what audio level each camera’s audio source requires.
Audio Embedment in HDMI
The Roland V-1HD embeds audio into the HDMI output. When you switch cameras with AFV, the embedded audio changes as well. This is important for streaming—your audience hears the audio change when you switch cameras.
The timing should be seamless, with audio and video switching simultaneously. If you notice delay between the audio switch and video switch, you may have a latency issue with your capture card or streaming software.
Using AFV with Macros
If your V-1HD supports macros (some models do), you can record a macro that not only switches the camera but also confirms the audio assignment is correct. This adds a layer of safety to prevent audio mistakes.
However, most church operators prefer to keep things simple and not use AFV at all, relying instead on a dedicated audio mixer to handle all audio switching.
Alternative: Manual Audio Control
Rather than using AFV, you can disable it and manually manage audio using your mixer. This gives you more control and flexibility.
Your mixer handles all audio level changes. The V-1HD just handles video switching. This separation of concerns is simpler for most churches.
Troubleshooting AFV Issues
If audio doesn’t switch when you switch cameras, verify that AFV is enabled and that the camera button you’re pressing is mapped to the correct audio input in the menu.
If audio switching lags behind video switching, check your HDMI cable and capture card. A poor connection can cause sync issues.
If one camera’s audio is always too loud or too quiet, adjust that audio input’s level in the V-1HD menu before service.
Your AFV Workflow
For churches using AFV: Configure each camera input’s audio assignment in the menu. Test all camera switches before service, verifying that audio levels are correct. During service, switch cameras using the buttons. Audio switches automatically.
For most churches: Disable AFV. Use a dedicated mixer to handle all audio. Switch video cameras with the V-1HD. This is simpler and more flexible.
AFV is a powerful feature for specific use cases, but it’s not necessary for most church productions. Understand it, enable it if it fits your workflow, but don’t force it if manual audio control is simpler for your team.