The X Air app is your complete control surface for the XR12. Properly configuring the app makes operating the mixer straightforward and enables features like streaming and multi-tablet mixing. This guide covers both app setup for basic mixing and configuration for churches that want to stream services.
Downloading and Launching X Air
Search for “X Air” in the Apple App Store or Google Play, download the free Behringer application, and install it on your iPad or Android tablet. The app is lightweight and works on devices from the last 5-7 years.
Launch X Air. It searches your network for connected XR12 mixers. When it finds yours, the mixer appears in the device list. Tap on it and X Air connects. You’re now viewing the complete mixing interface.
If the app doesn’t find your XR12 automatically, verify that both devices are on the same network. Check that the XR12 is powered on and connected via Wi-Fi or Ethernet. Restart the app and try again.
Configuring Channels in the App
The X Air interface shows your 12 channels as vertical faders. At the top of each channel is its name. Tap on the channel name to edit it. Give each channel a clear, descriptive name: “Lead Vocal,” “Kick Drum,” “Guitar,” and so on.
Below the channel name is the input meter, showing signal level in real-time. As you speak into a microphone or play an instrument, the meter updates instantly. This metering is essential for gain staging.
The main fader for each channel controls its level in the main mix. Below the fader is a route button showing which outputs the channel is routed to. For typical mixing, all channels route to the main output (labeled “LR” or “Main”).
Setting Gain (Preamp Level)
For each channel, you need to set the input gain (preamp) properly. Tap on the channel to open its detailed view. Look for the Gain control and adjust it while someone plays or speaks into the corresponding microphone.
The goal is to set gain so that typical peaks sit around -12 dB on the input meter. Too low, and you’ll have a noisy signal. Too high, and you’ll clip and distort. -12 dB is the sweet spot.
Go through each of your 12 channels during a sound check, setting appropriate gain. Record these settings (or save a scene) so you can replicate them next week.
Creating Custom Layouts
One strength of the X Air app is the ability to create different layouts for different operators. Your primary engineer might need all 12 channels visible with full controls. A volunteer might only need faders for the 7 channels you actually use.
In the app’s settings, look for layout or view configuration options. Create a “Volunteer Mix” layout showing only channels 1-7 with minimal controls. Create an “Engineer” layout with all 12 channels and full parameter access.
Operators select their layout when opening the app, and they see an interface customized for their needs. This prevents accidental adjustments to channels or parameters volunteers shouldn’t touch.
Setting Up a Streaming Auxiliary Bus
If your church streams services, dedicate one of the XR12’s auxiliary outputs for streaming. In the X Air app, select Aux 1. This opens the auxiliary configuration.
Configure which input channels feed into Aux 1. For most churches, all 12 channels go to Aux 1 so streaming viewers hear the full service. However, you can customize: increase the send level from the vocal channel to Aux 1 if you want to emphasize the vocal for streaming. Decrease the drum send level if you want a cleaner mix online.
Set the Aux 1 main fader to approximately 0 dB. The auxiliary output now carries a stereo mix separate from your main L/R output.
Getting Aux 1 to Your Streaming Computer
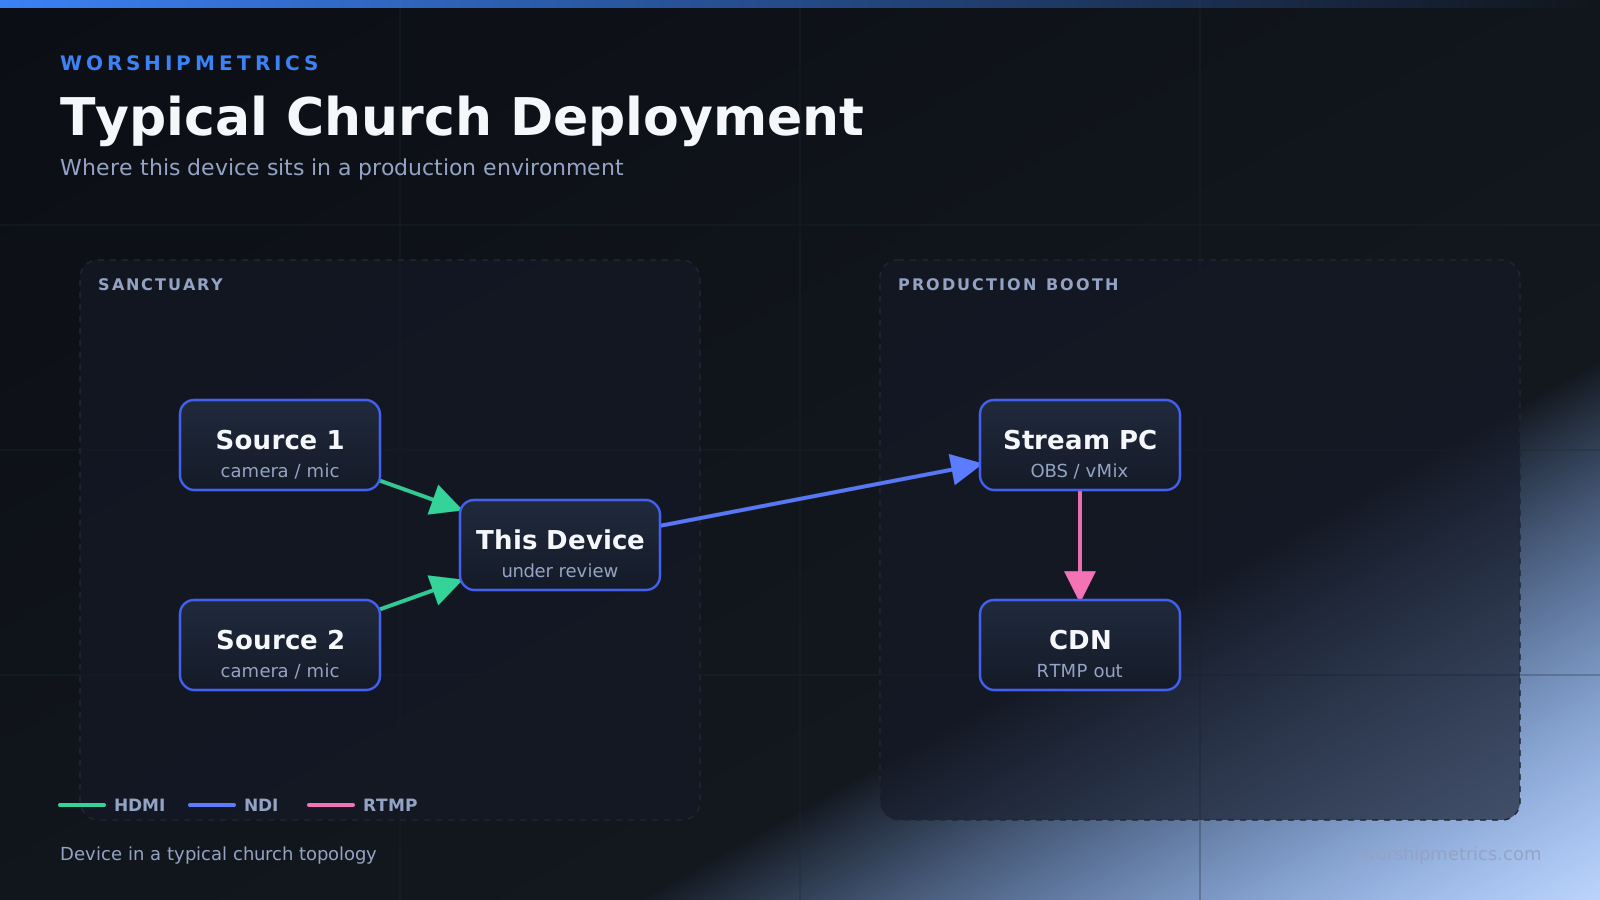
The XR12’s USB port records to a USB stick; it can’t connect to a computer as an audio interface. Run the XR12’s Aux 1 output into a USB audio interface connected to your streaming computer.
Now your streaming computer can receive the Aux 1 mix. Launch OBS or vMix and select that USB audio interface as the audio input device. The streaming software receives your Aux 1 mix directly.
Set the audio levels in OBS or vMix so peaks reach around -12 dB. Test the streaming audio with a full rehearsal before going live.
Monitoring Levels During Service
In the X Air app, watch the main output meters while the service is happening. Keep an eye on the overall signal level. If peaks consistently hit -2 dB or higher, the mix is too hot. Pull back the main faders slightly.
If using a streaming auxiliary, monitor the Aux 1 meters as well. The streaming mix levels should also be in the -12 to -6 dB zone.
Modern iPads have good screen brightness, but if you’re mixing outdoors or in bright ambient light, tap on the metering section to enlarge the meters for easier visibility.
Effects and Processing Setup
The XR12 includes reverb, delay, compression, and other effects. In the X Air app, navigate to the Effects section and add processing to channels. For worship, common effects are:
Reverb on the lead vocal to add space and warmth. Compression on drums to even out dynamic range. Light delay on guitars or secondary vocals for depth. EQ adjustments to thin out muddy frequencies or brighten dull instruments.
These are optional. Many small churches mix dry (no effects) and sound great. Use effects if they enhance your particular worship aesthetic.
Saving Scenes
After you’ve configured all your channels, set levels, and added effects, save a scene. In the X Air app, look for the Scene button or menu. Create a new scene and name it “Sunday Worship Service.”
Next Sunday, load this scene and you’re instantly back to last week’s configuration. Make minor tweaks if needed, but 90% of your setup is already done.
Multi-Operator Workflows
Because multiple tablets can connect to the XR12 simultaneously, you can have a primary engineer mixing the main output while a secondary operator manages the streaming auxiliary bus. They’re controlling the same mixer but focusing on different mixes.
Both operators need clear communication about their roles. Primary engineer handles the main mix for the congregation. Secondary engineer handles the streaming mix. Changes one makes appear on the other’s screen in real-time.
This workflow separates concerns and ensures both the live and streaming experiences get proper attention.
Streaming During Service
Here’s the typical workflow: Before service, load your Sunday scene. Do a sound check, verifying both the main mix and Aux 1 streaming mix sound good. Start streaming in OBS or vMix. Begin the service.
During the service, your primary engineer mixes normally on the main output. Your streaming operator watches Aux 1 levels, making adjustments if needed to keep streaming audio optimal.
Both operate from tablets with the X Air app, potentially from different locations in the sanctuary. After service, save your scene, export a backup, and you’re done.
Troubleshooting App and Streaming Issues
App won’t find the XR12: Verify both devices are on the same network. Check that the XR12 is powered on. Restart the app.
App is slow or laggy: Network issue. Move the tablet closer to the Wi-Fi access point, or switch to Ethernet if possible.
No audio in OBS or vMix: Verify the XR12’s Aux 1 output is cabled to your USB audio interface. Confirm Aux 1 has signal. Check that OBS/vMix is set to receive audio from that interface.
Streaming audio is clipping: Aux 1 output level is too hot. Reduce the Aux 1 main fader or reduce individual channel send levels to Aux 1.
First-Time Streaming Test
Before you rely on streaming during a live service, do a complete test run. Load your Sunday scene. Launch streaming software. Verify audio is flowing. Do a 5-minute test recording and play it back to check for issues.
This test run prevents surprises on Sunday morning.
The X Air app gives you full control over the XR12. As you become comfortable with basic mixing, explore the app’s advanced features. Effects, complex routing, custom layouts—all are available when you’re ready.